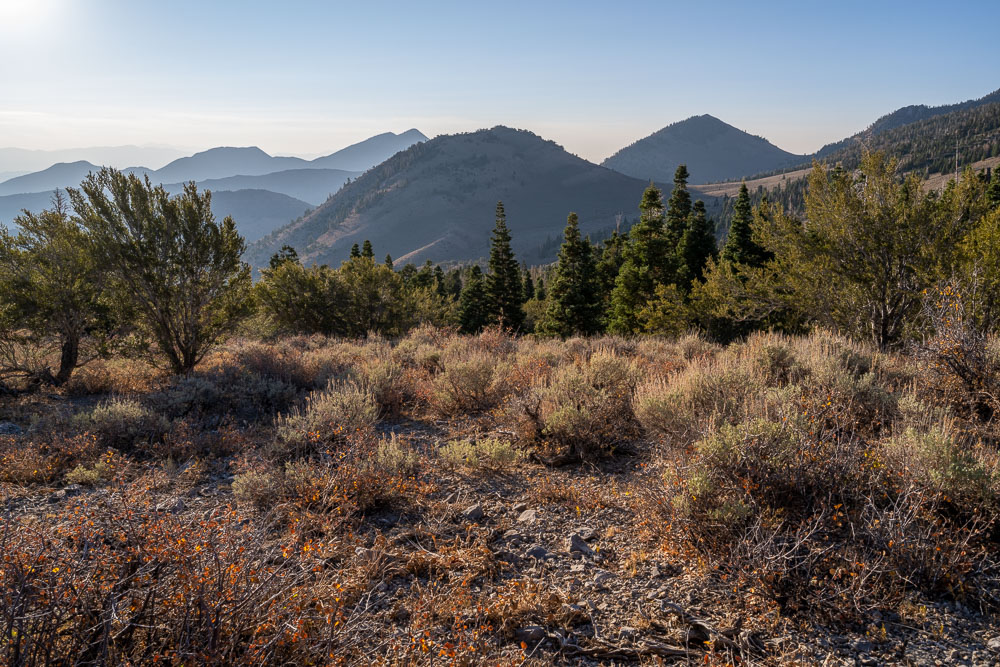
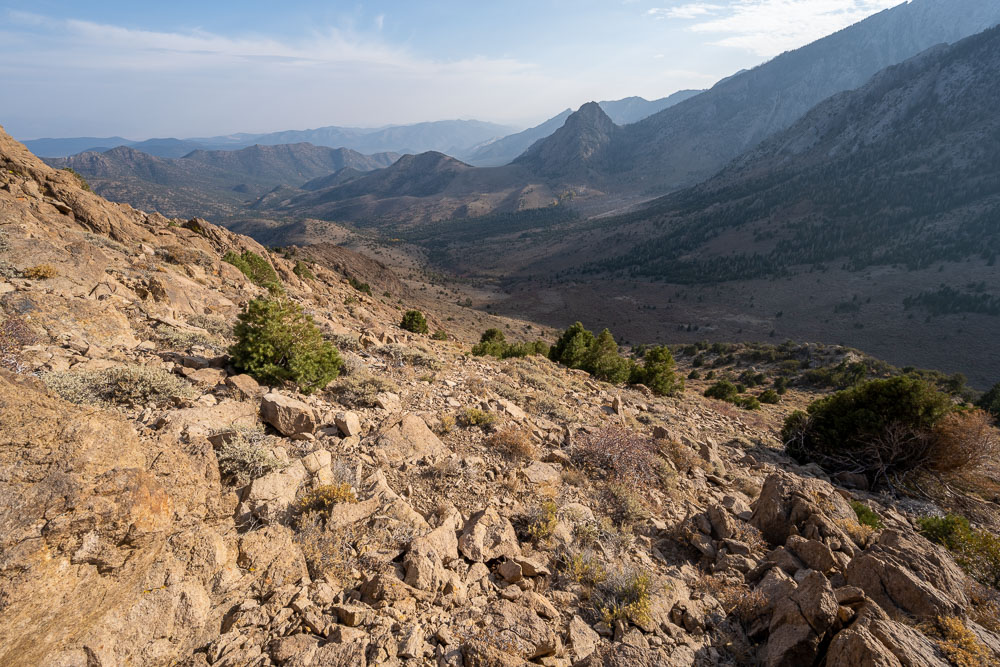
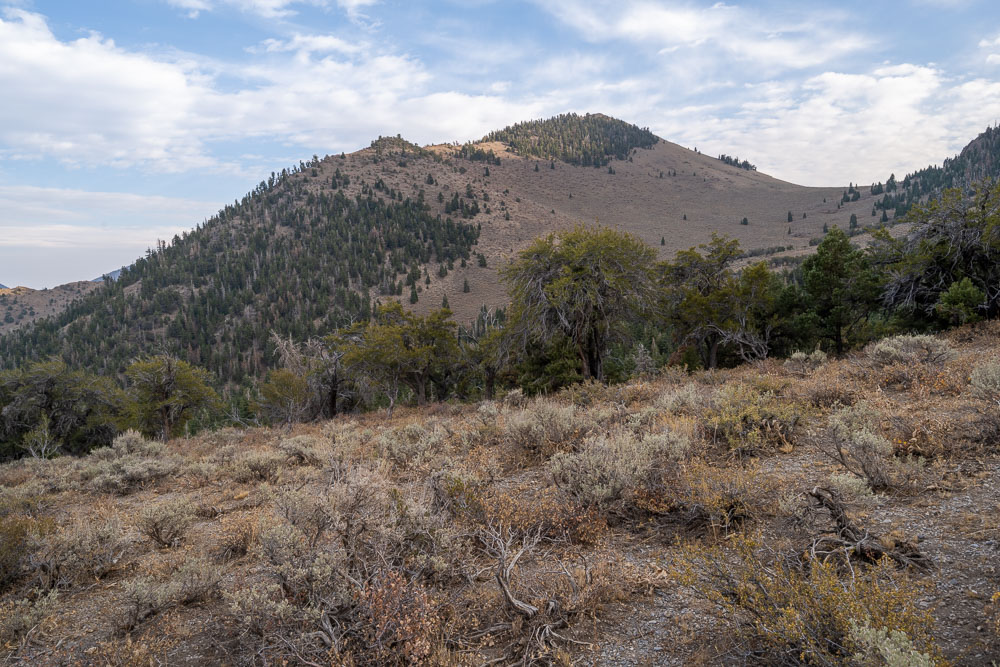
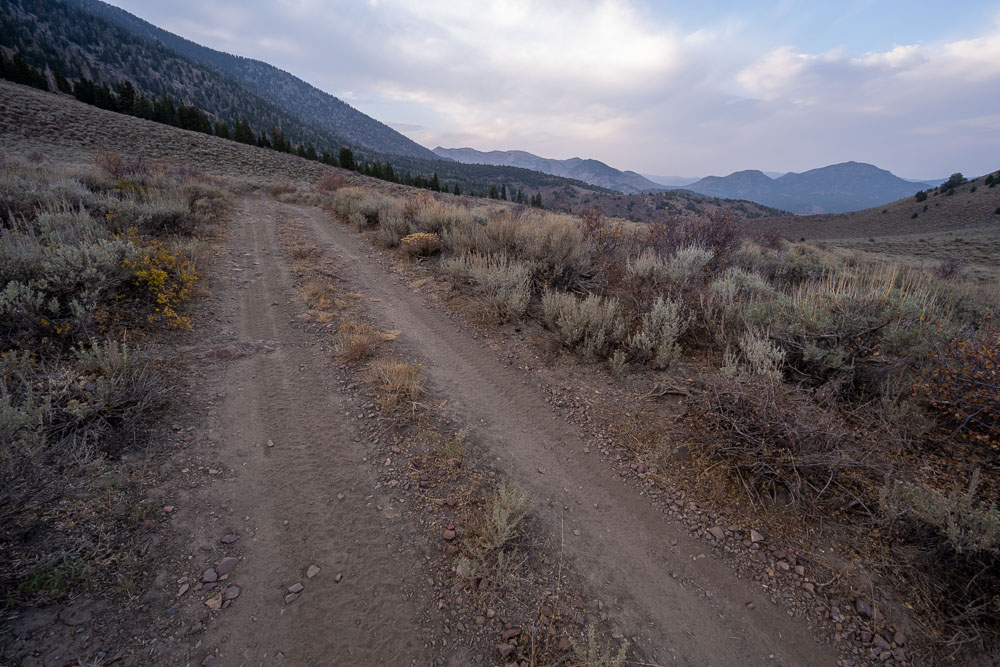
View south from near where I parked. The road in was rough 4WD. Peak 8851 and Peak 9243 that I would visit later in the day are both visible.
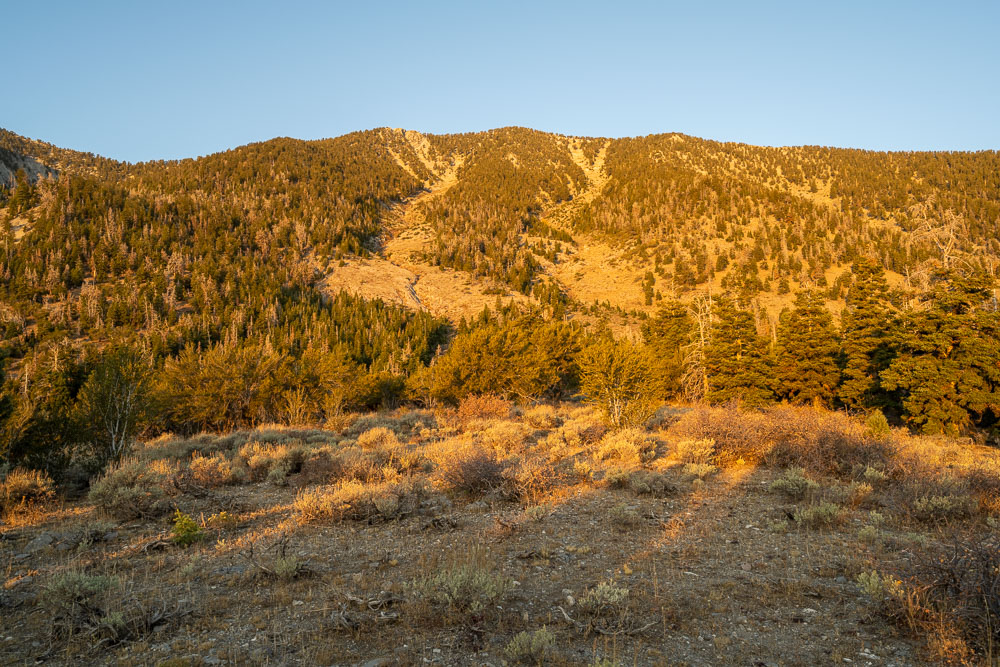
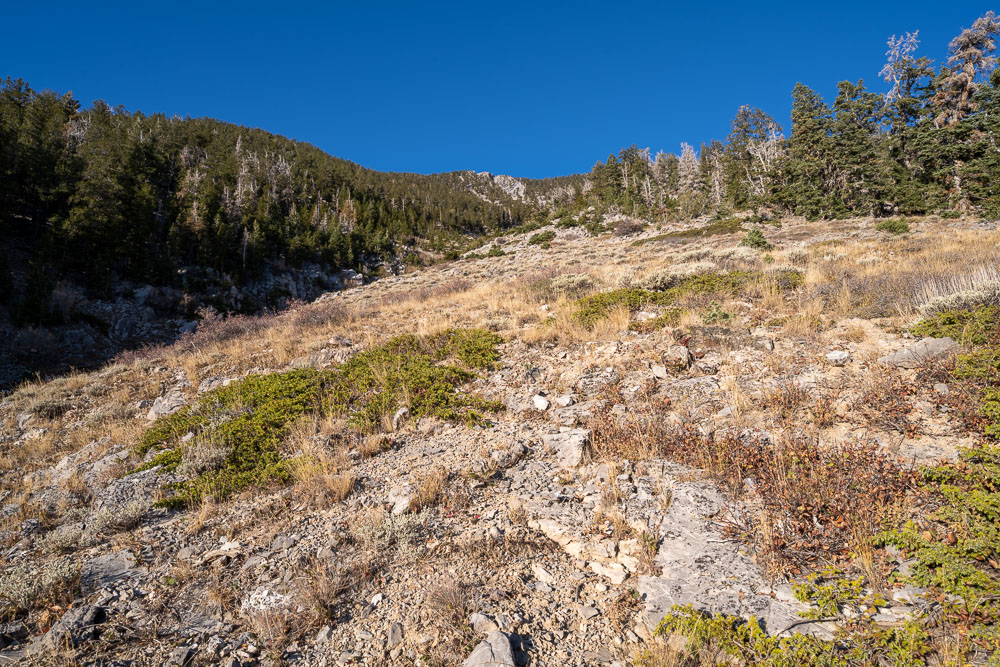
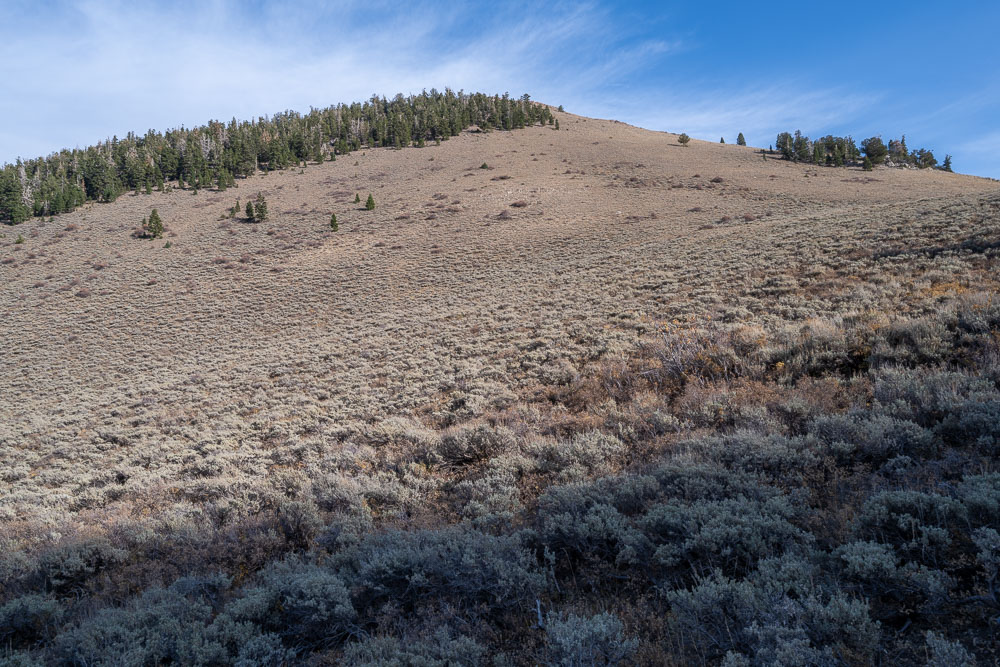
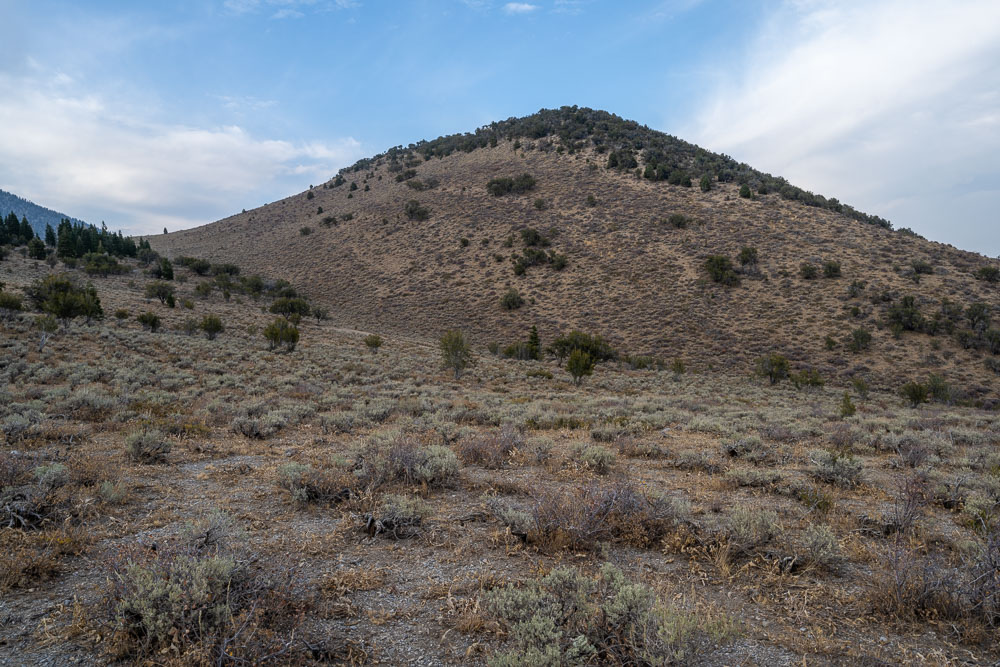
Heading up an open slope toward Duckwater Peak.
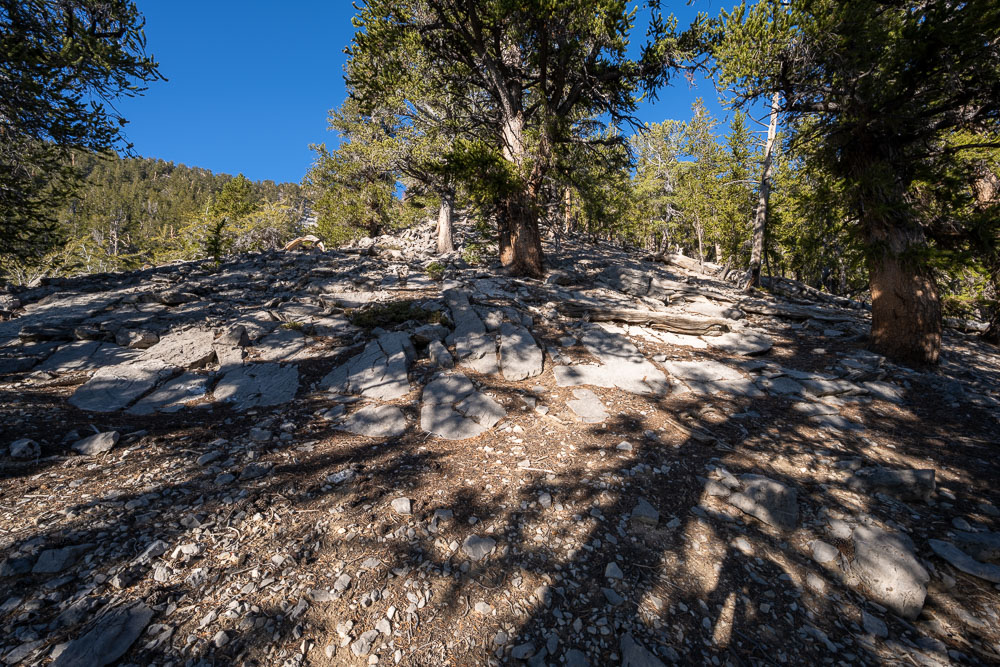
Open bristlecone pine forest on the way to the summit.
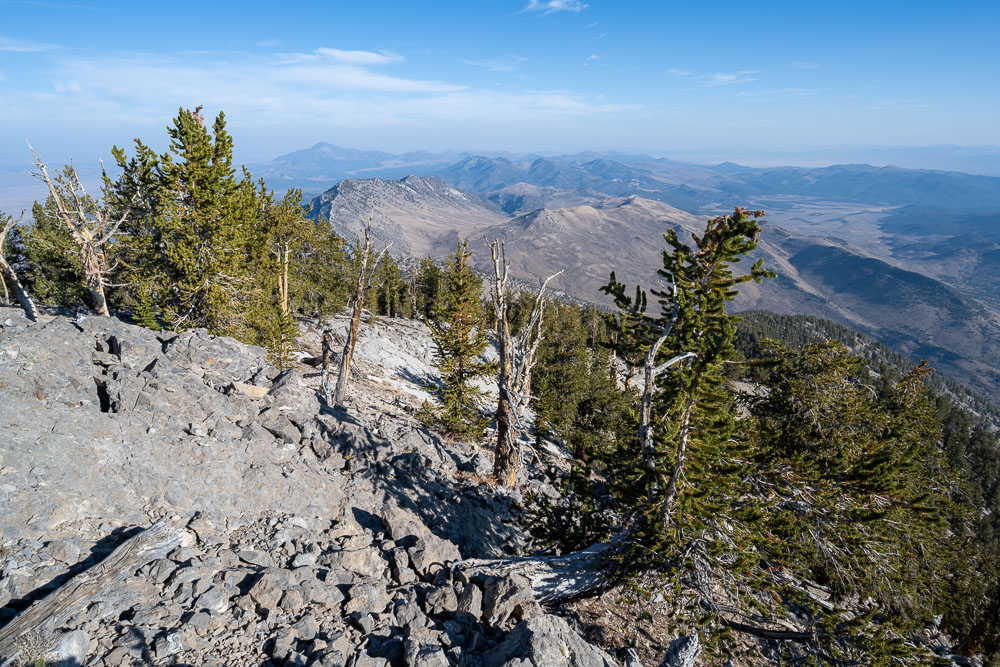
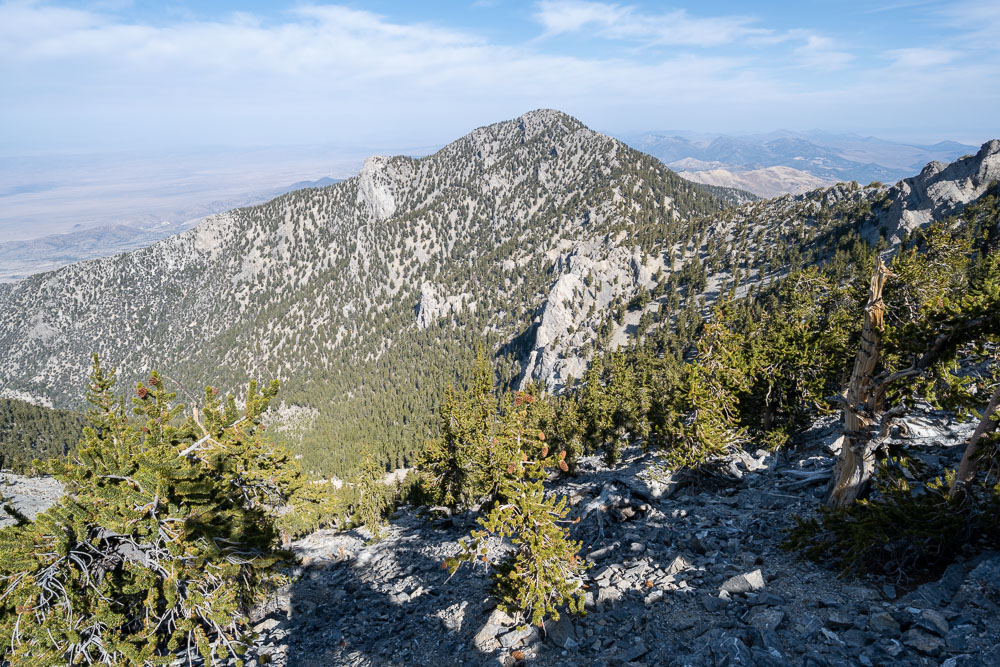
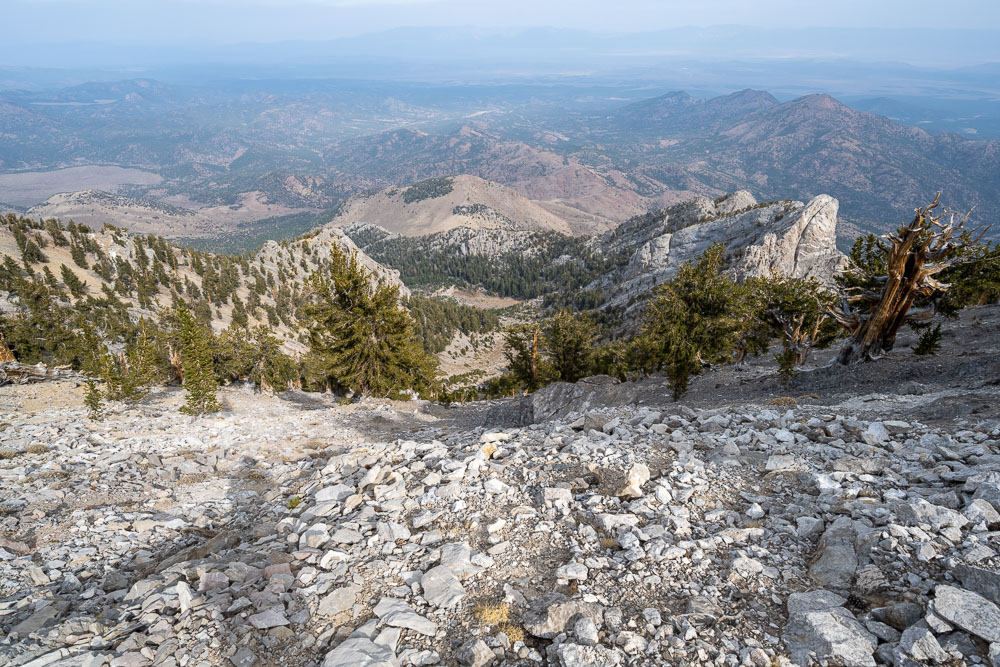
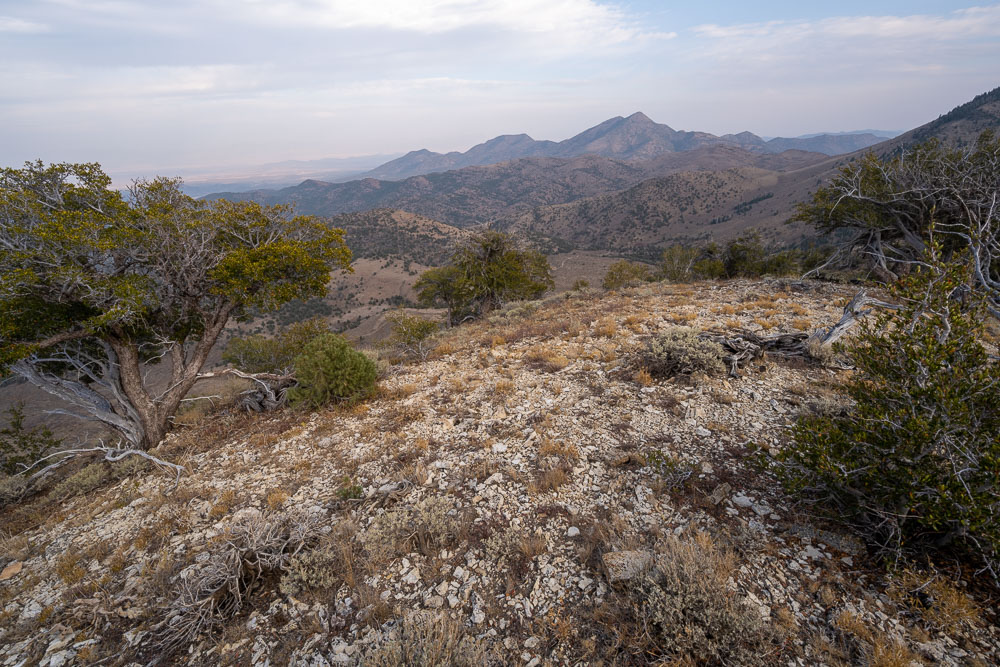
View north from the summit of Duckwater Peak.
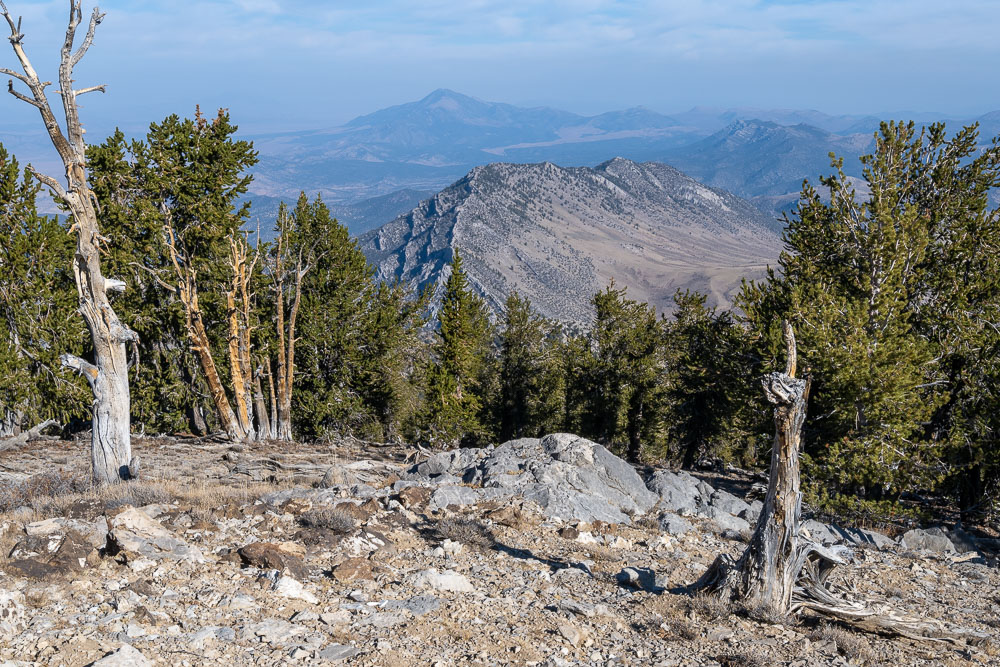
Peak 10180, a remote P1K.
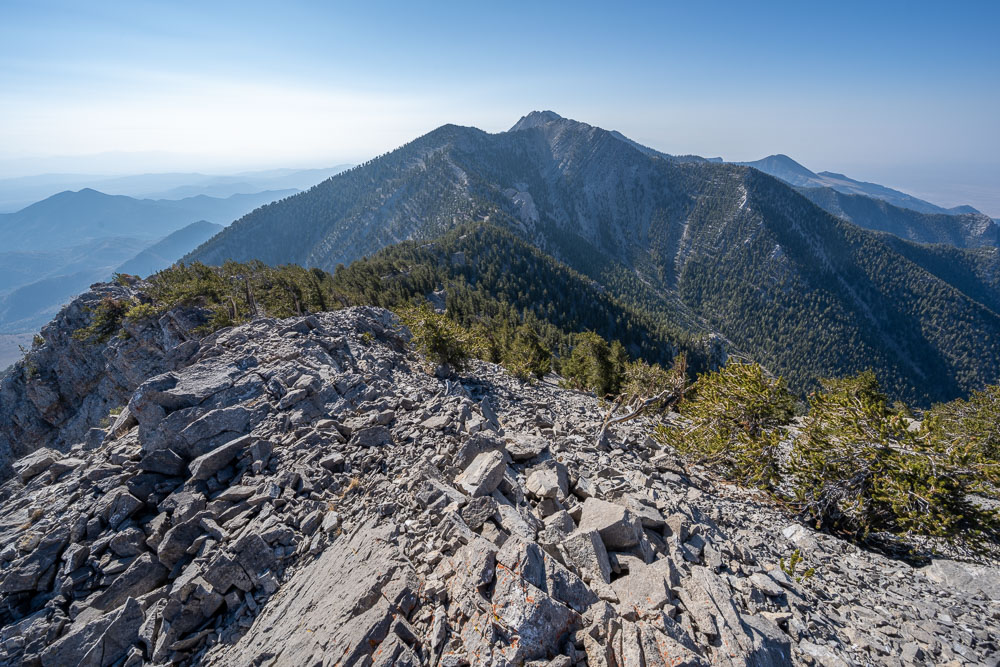
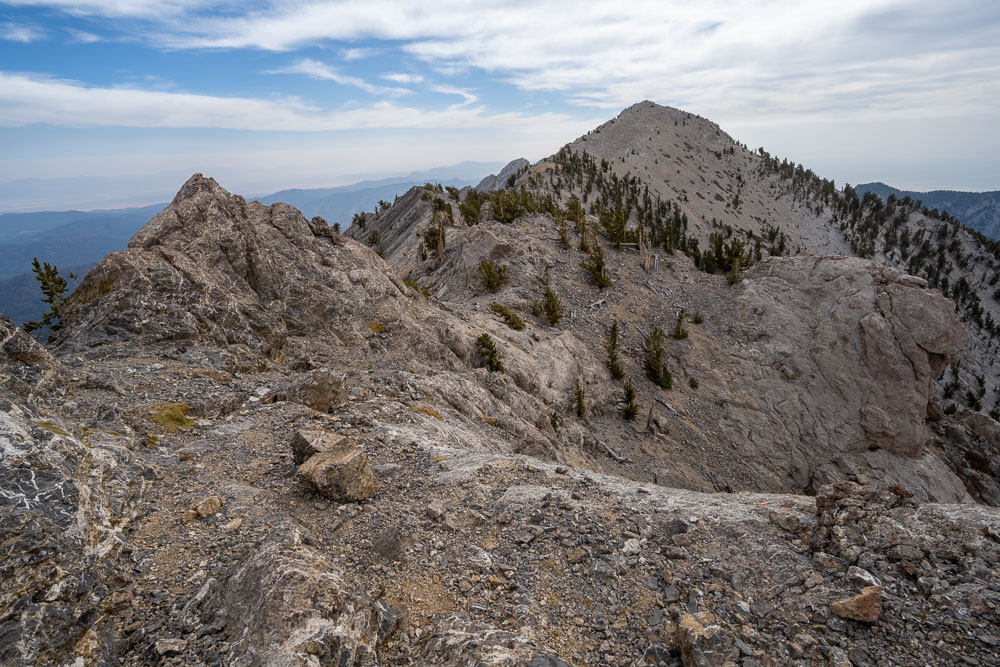
Continuing south along the ridge toward Currant Mountain.
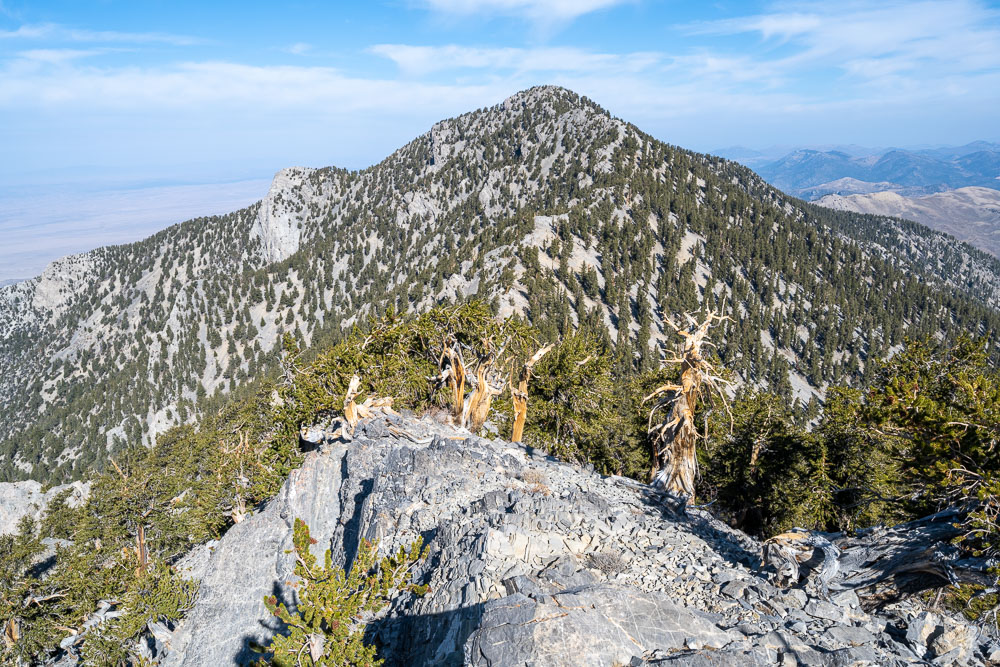
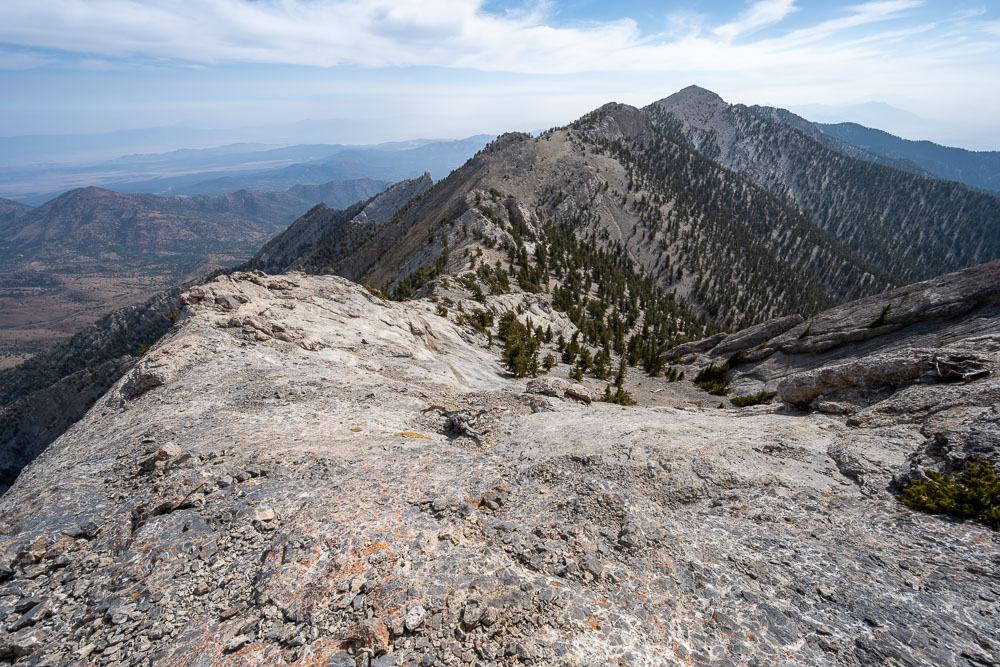
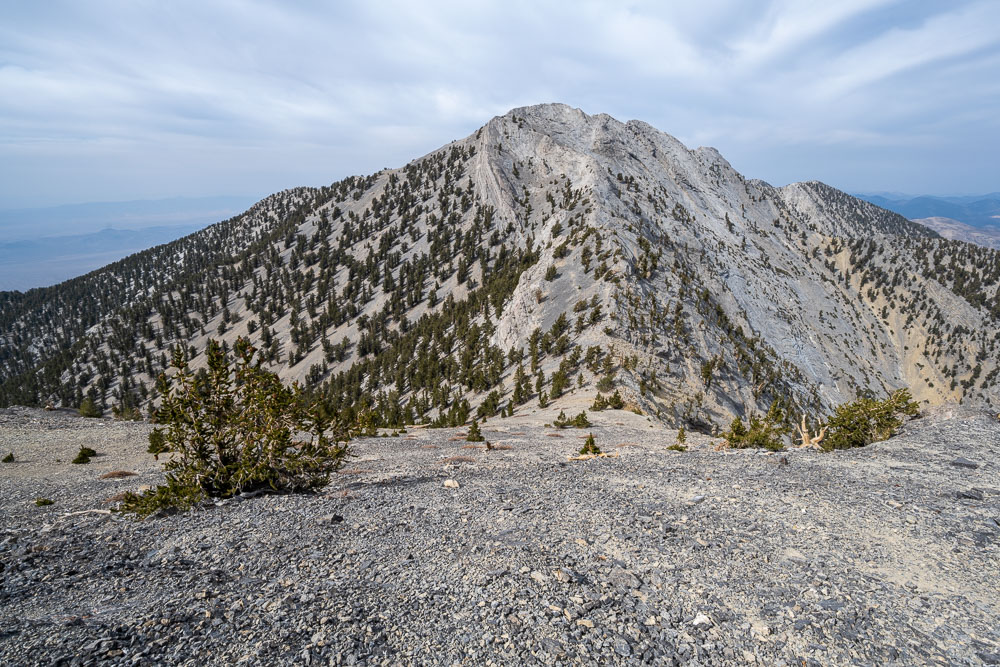
View back to Duckwater Peak.
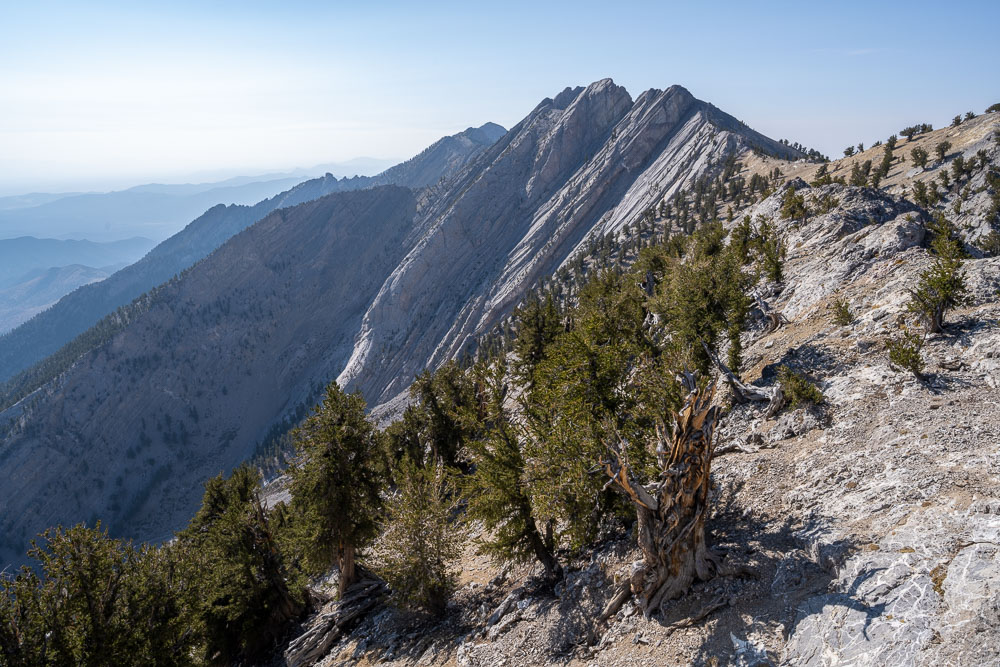
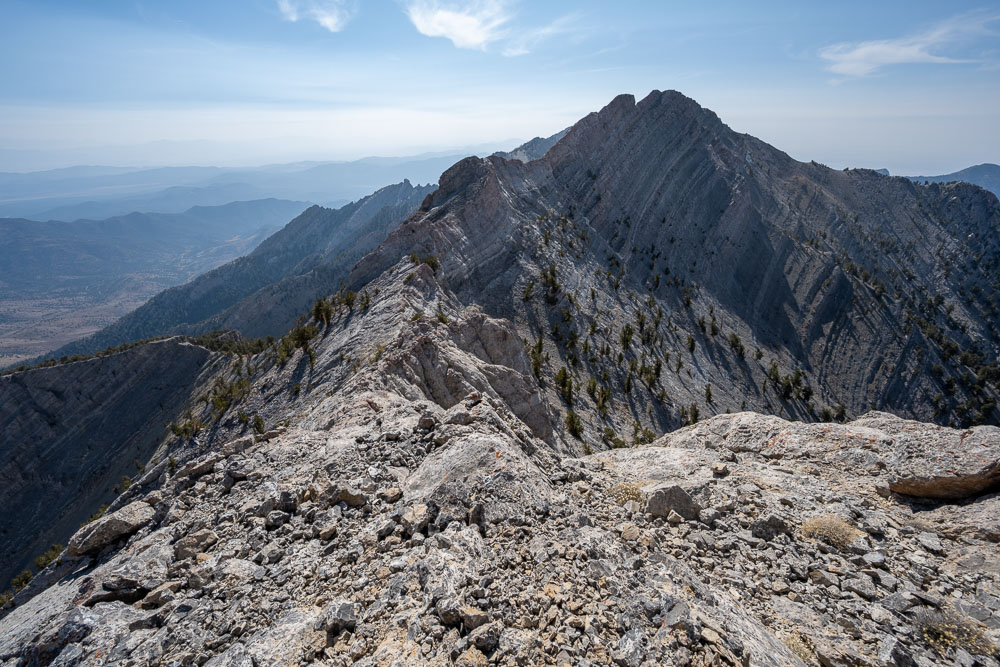
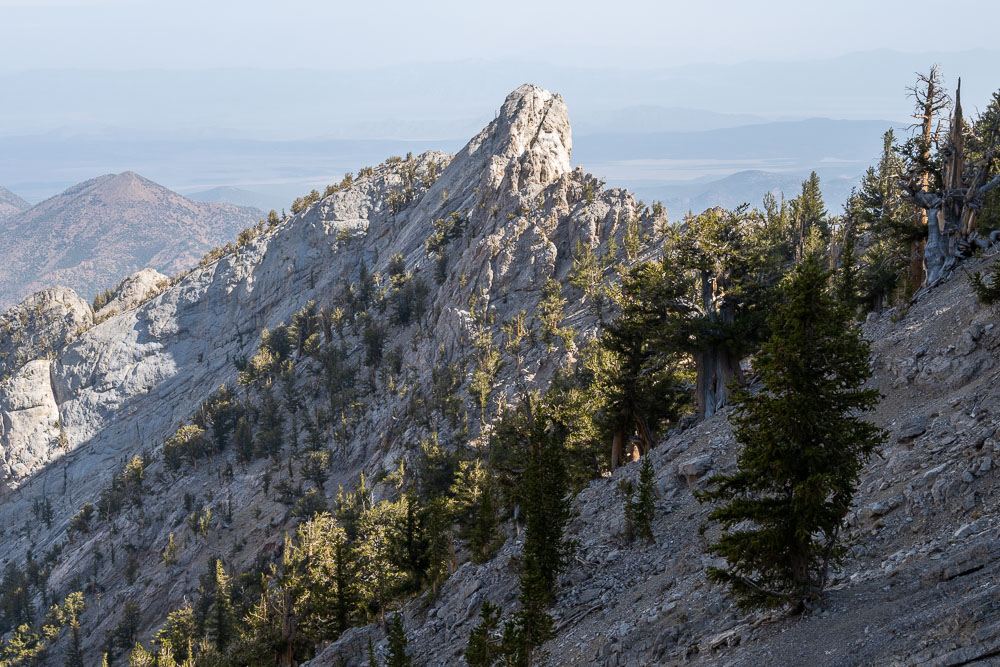
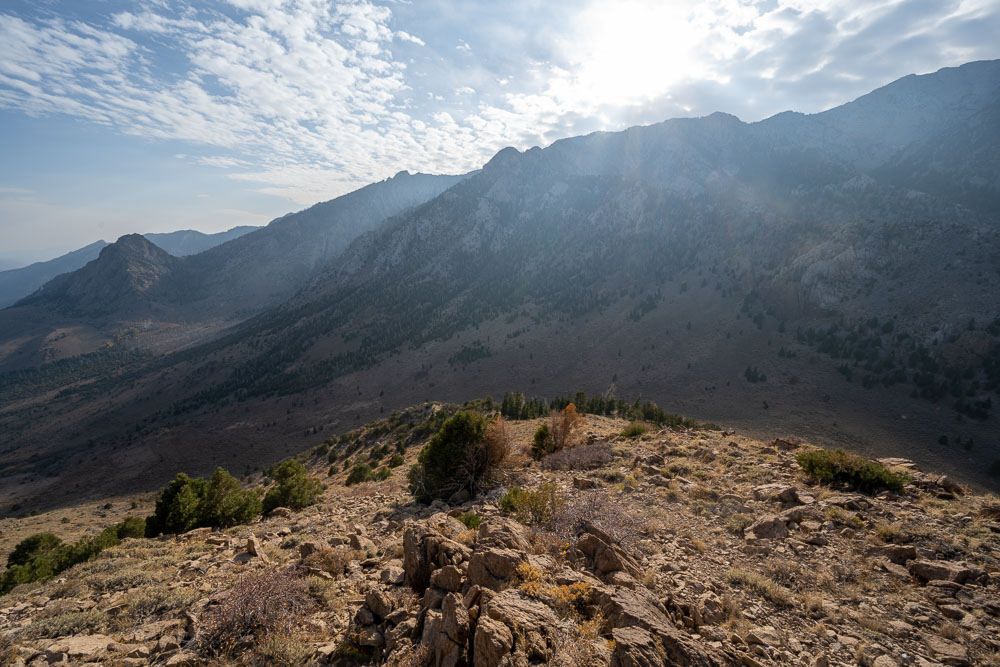
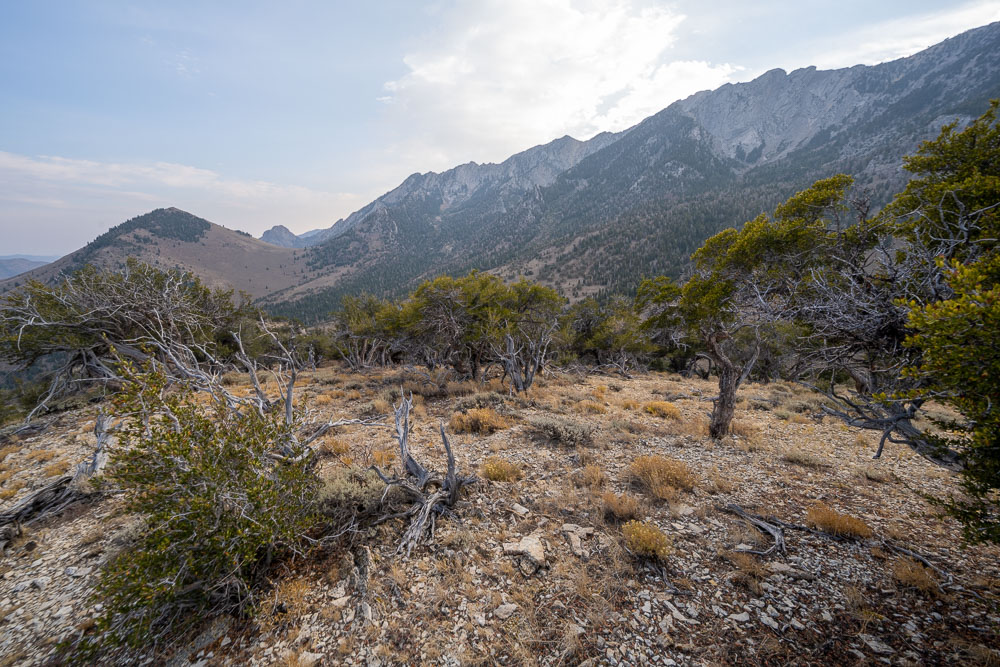
Impressive east face of Currant Mountain.
Currant Mountain from a notch along the ridge.
Duckwater Peak.
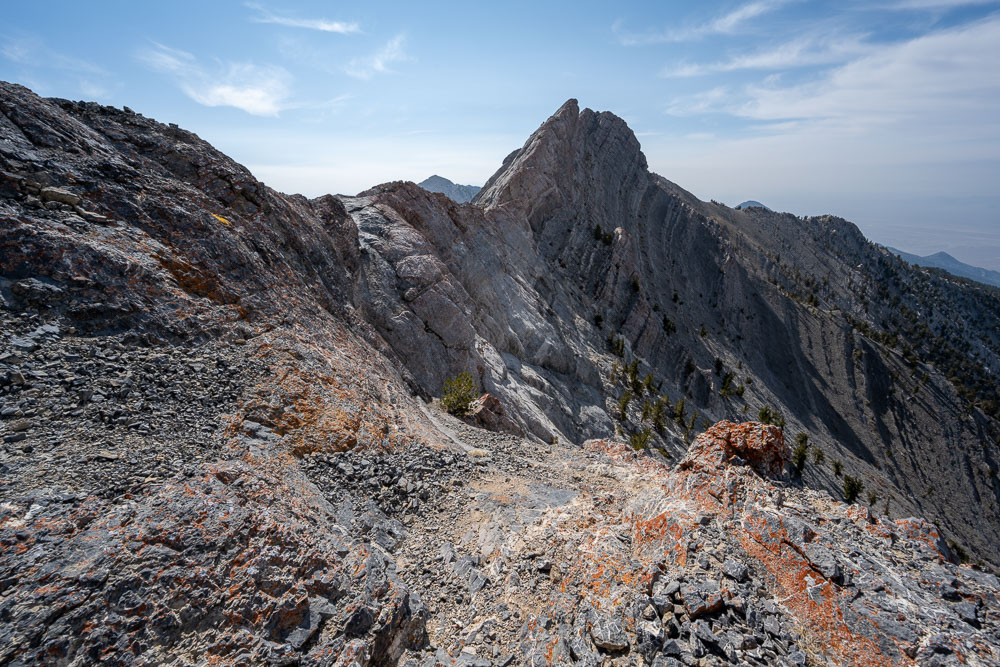
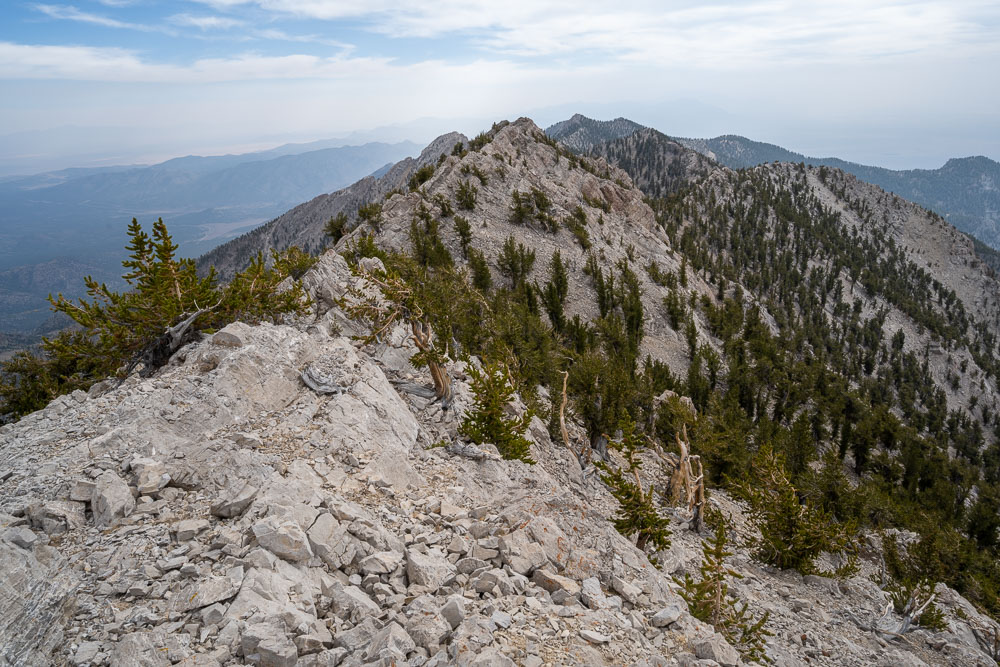
Continuing along the ridge.
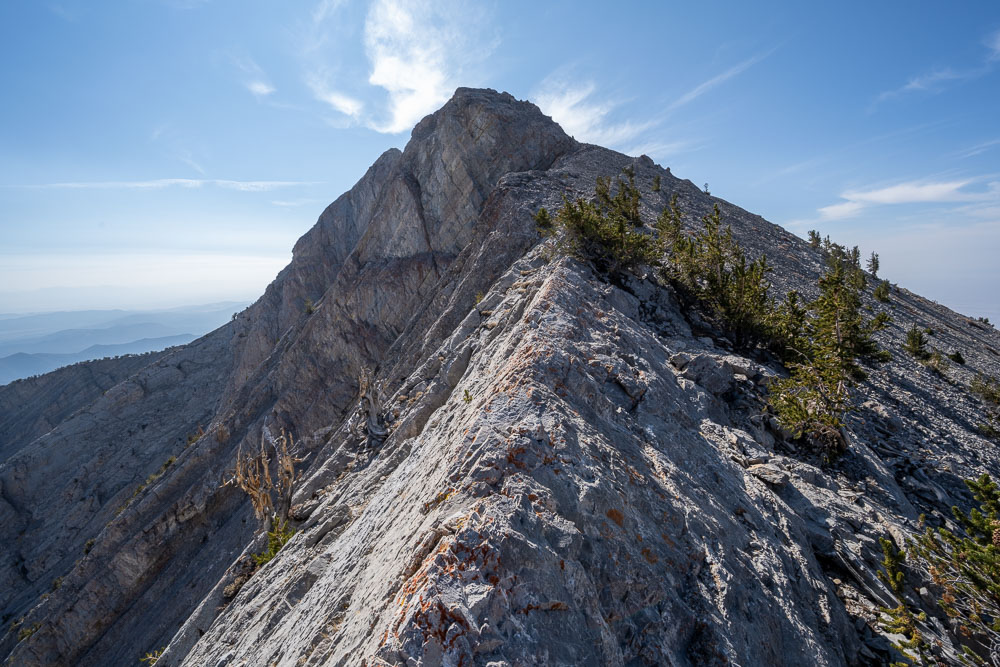
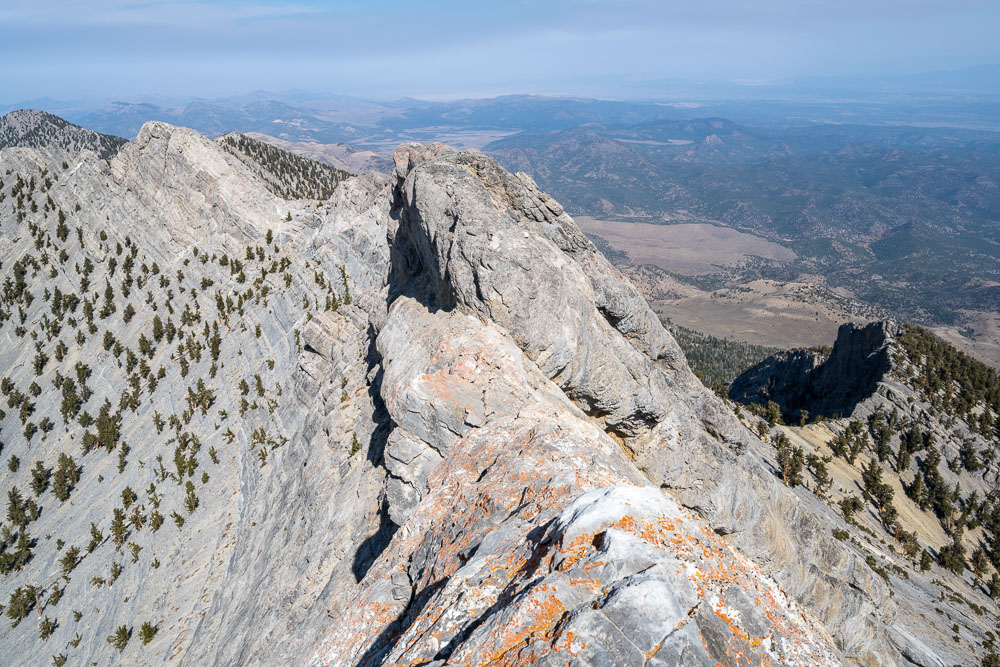
Approaching a false summit that I bypassed on the right.
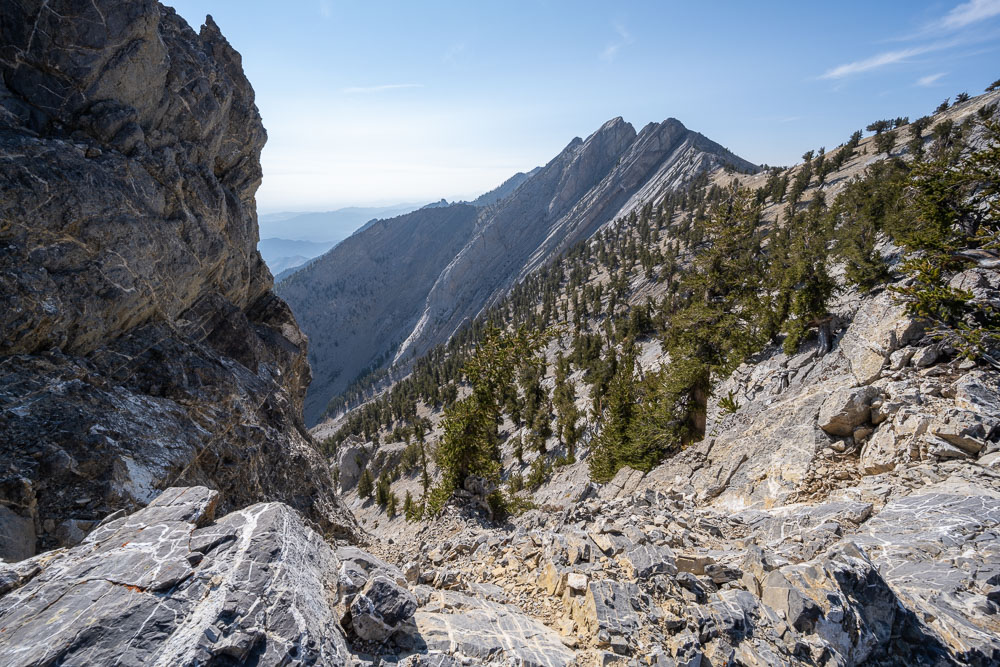
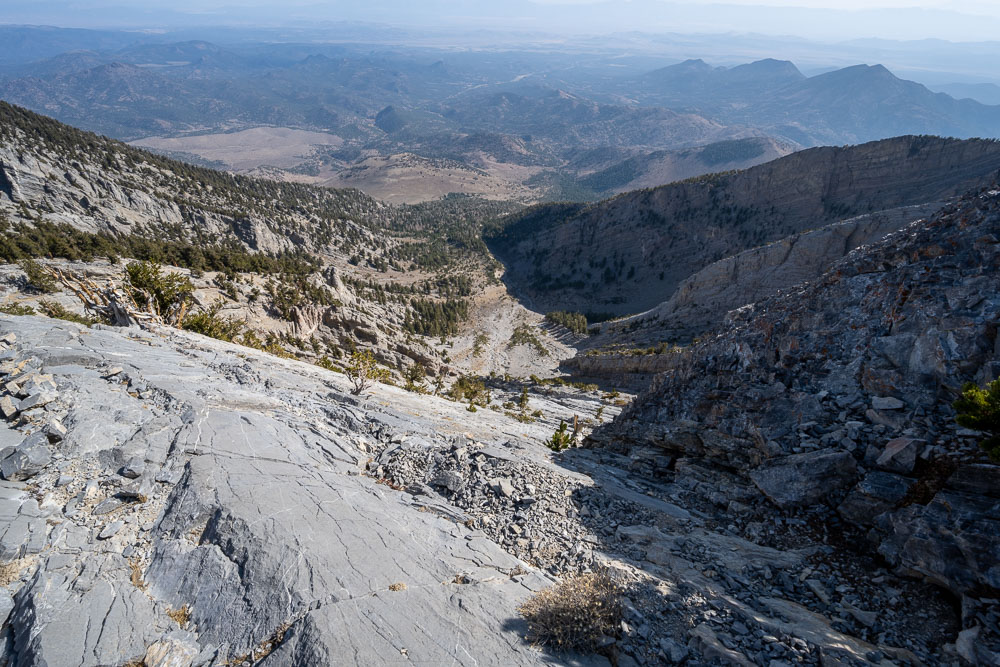
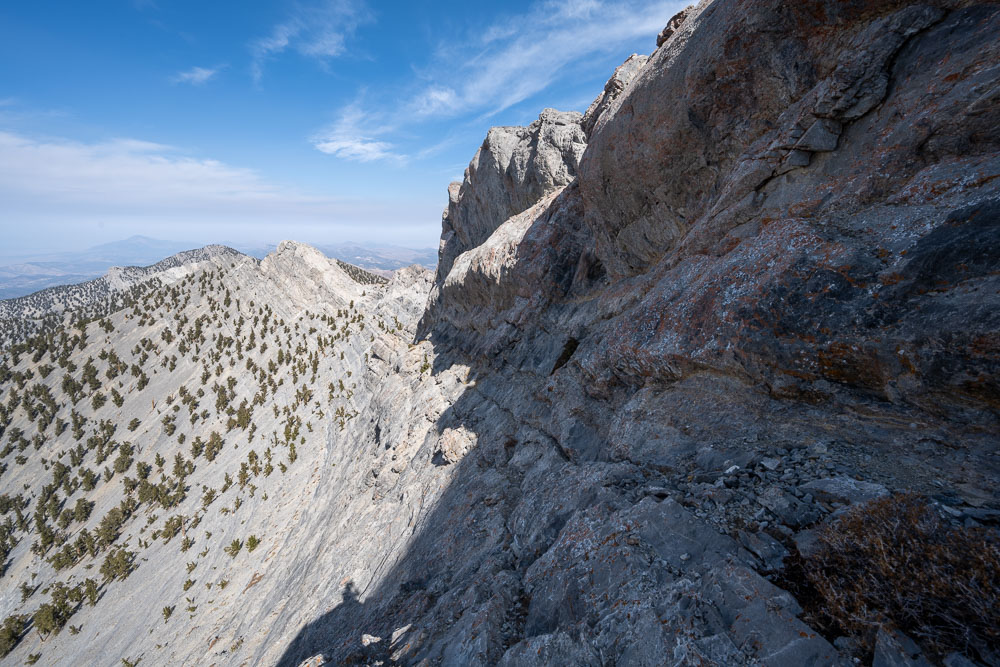
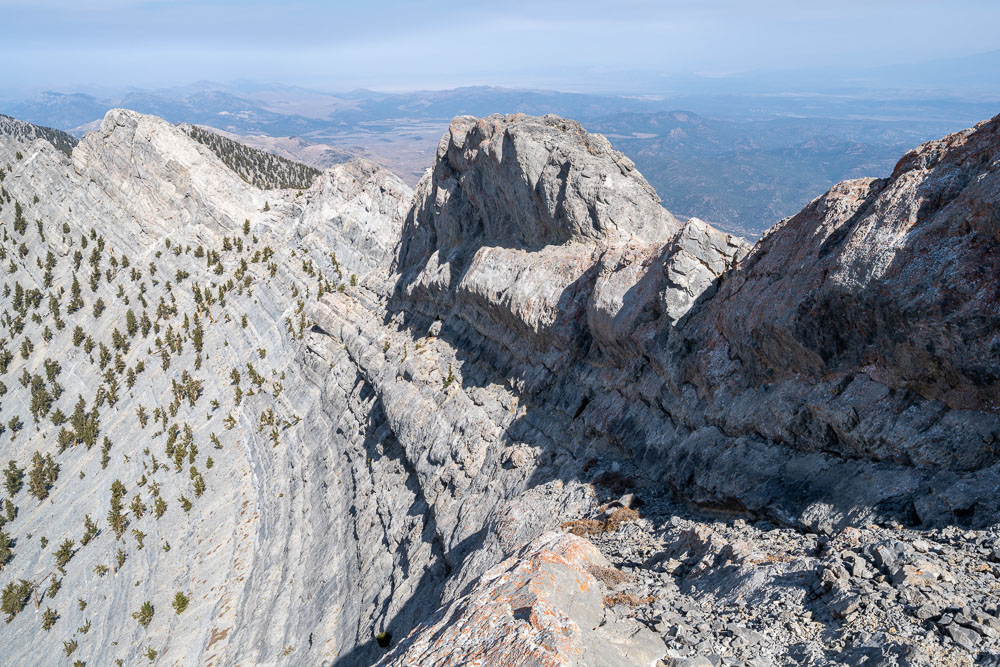
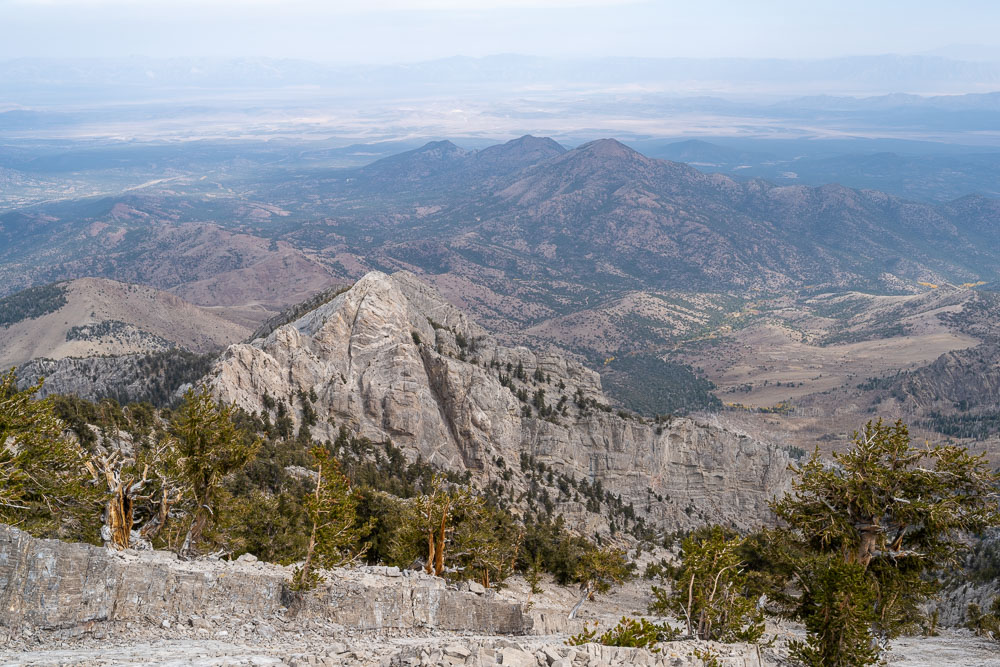
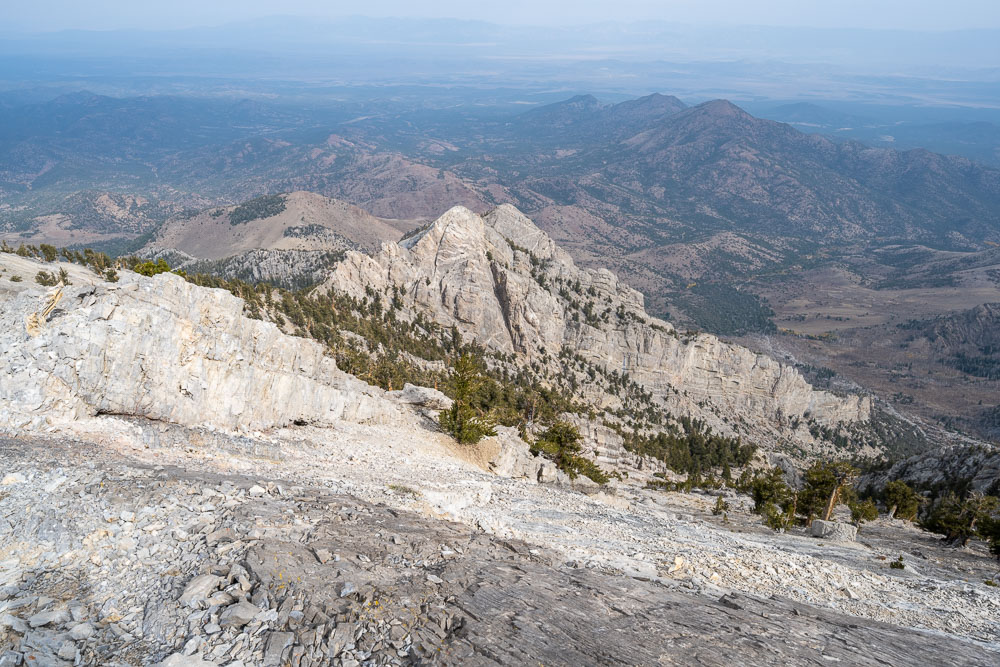
View down the steep east face.
Bypassing a difficult section on the right.
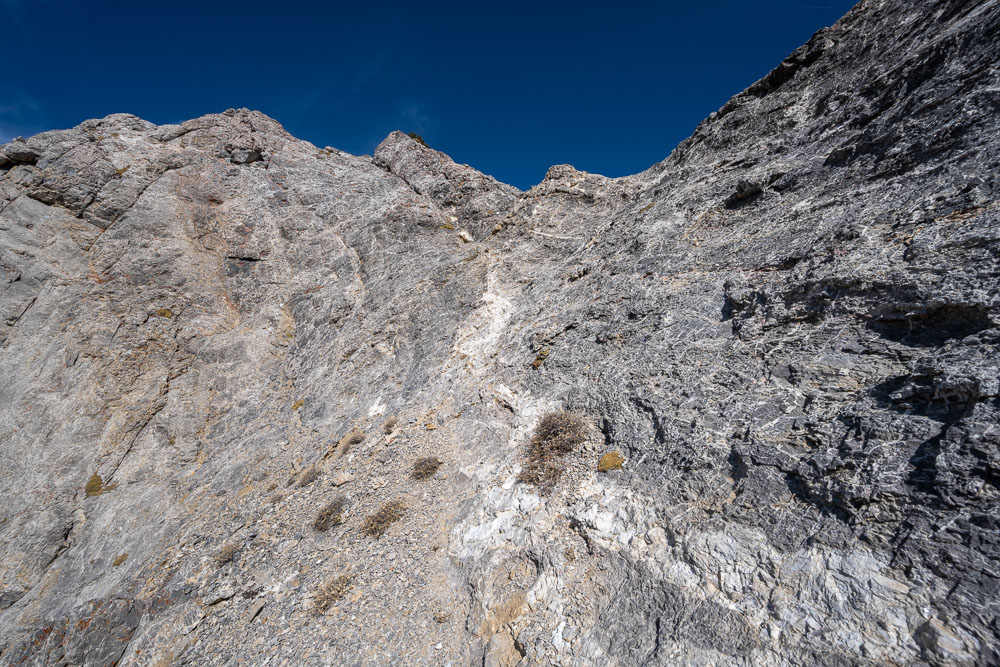
Class 3 scramble leading back to the ridge.
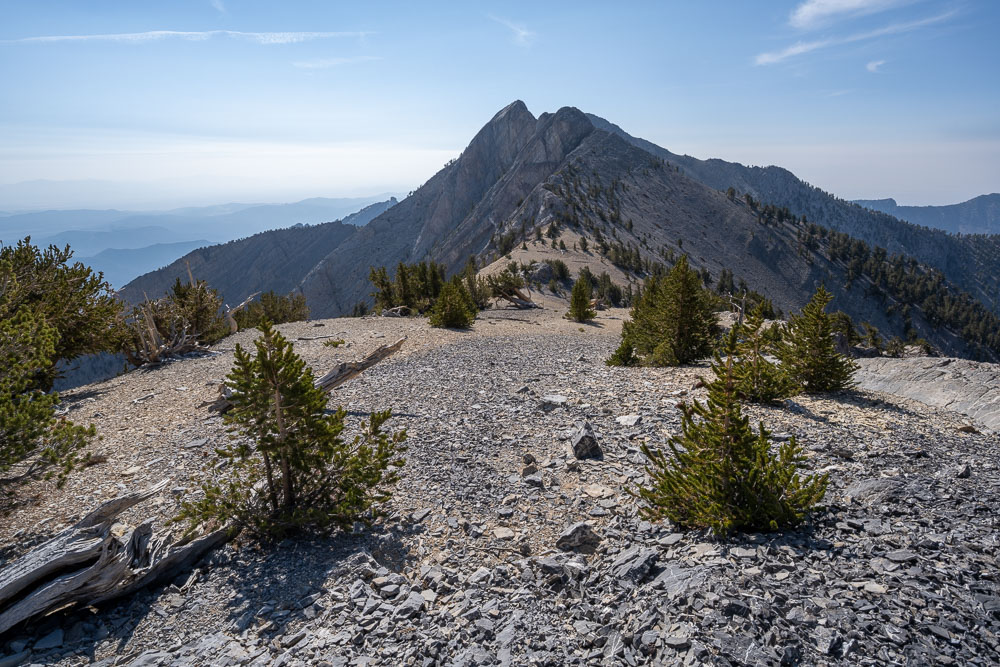
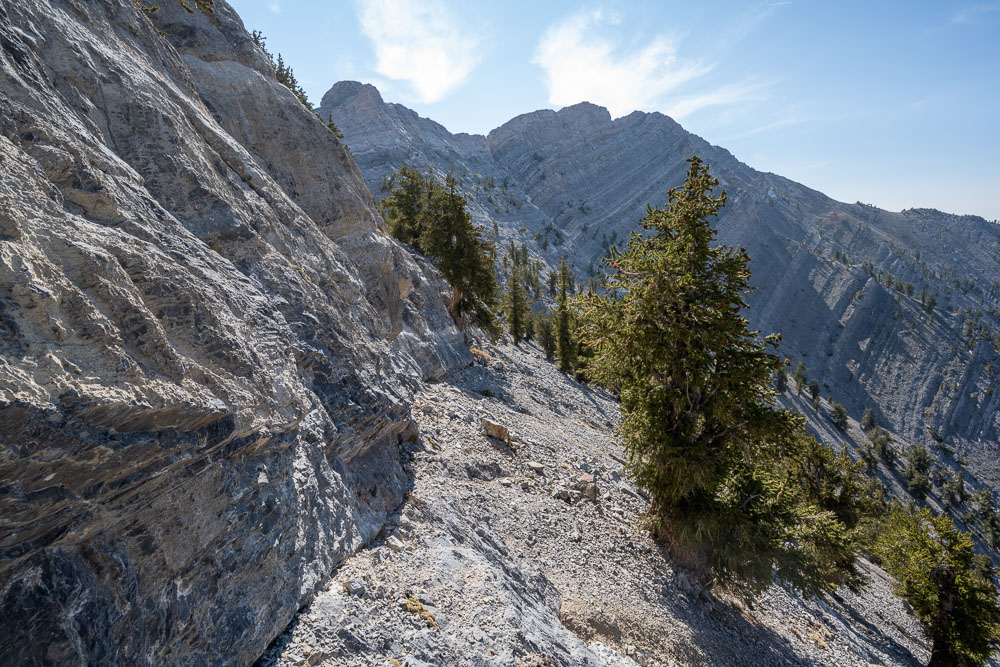
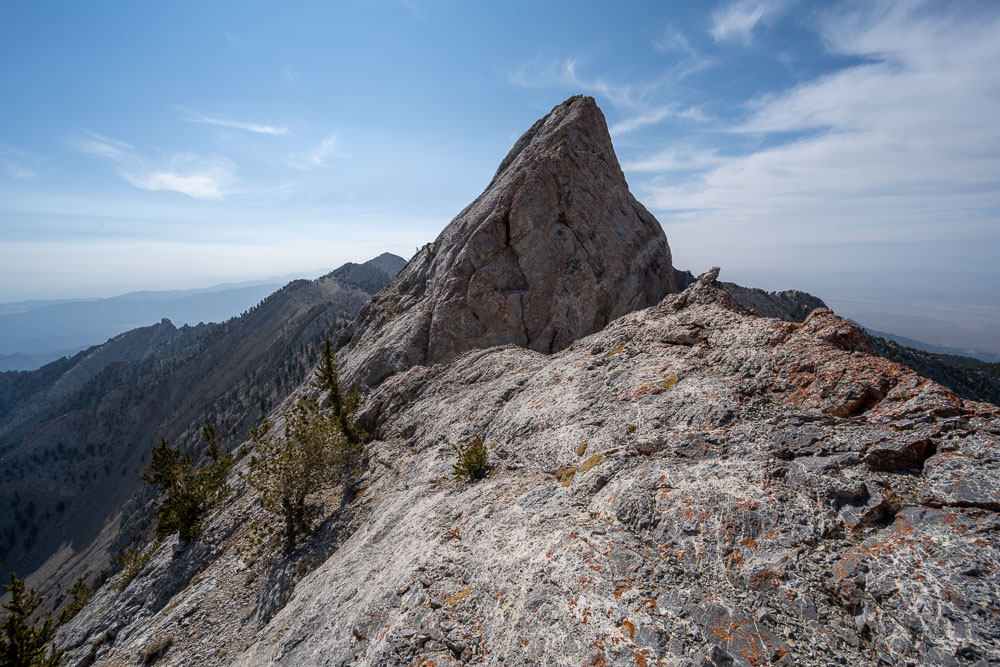
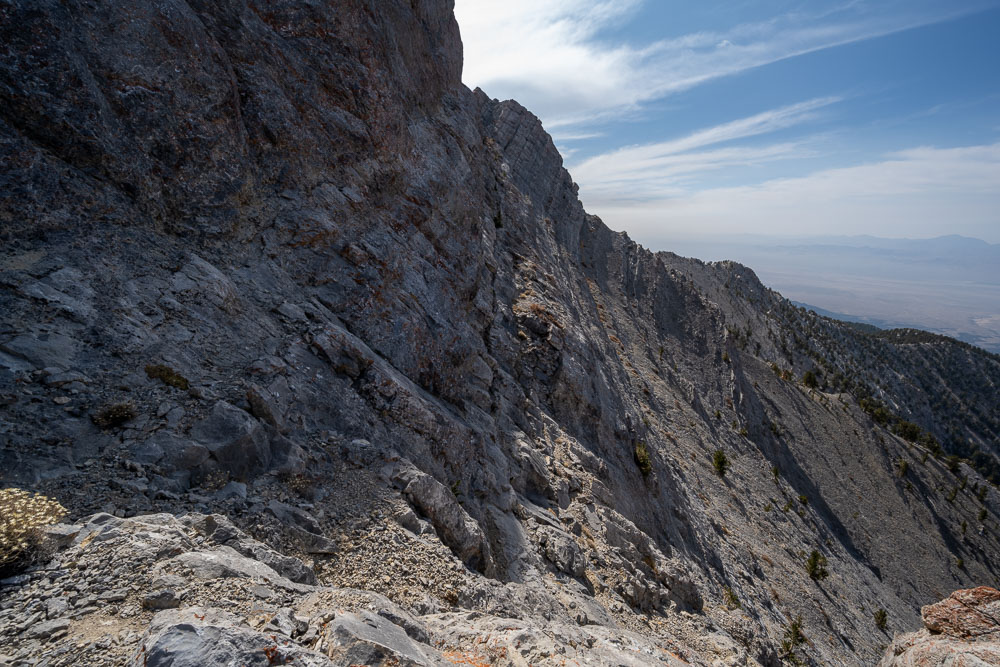
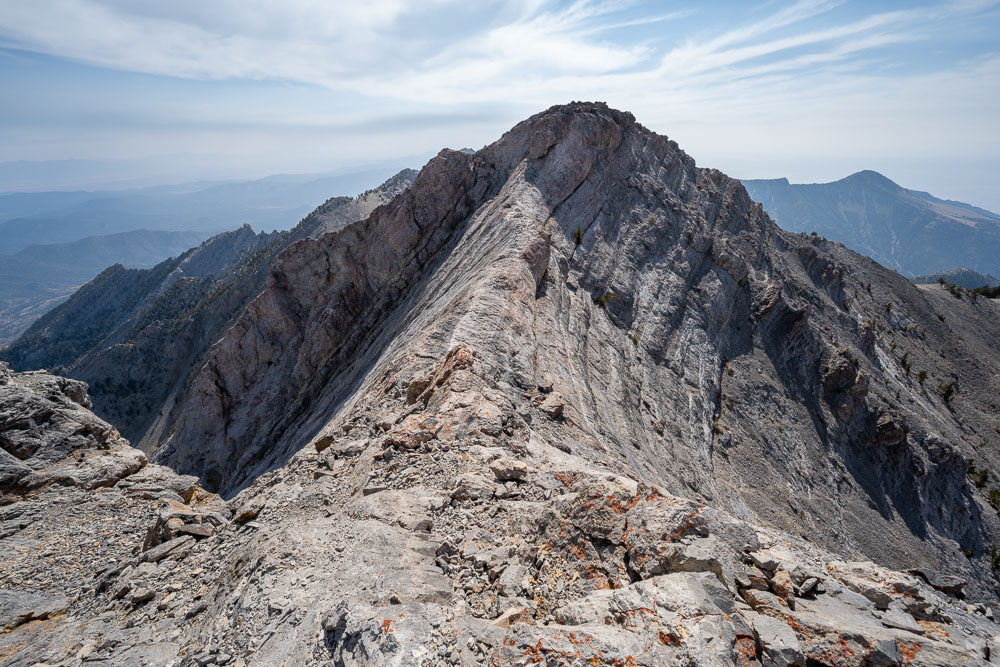
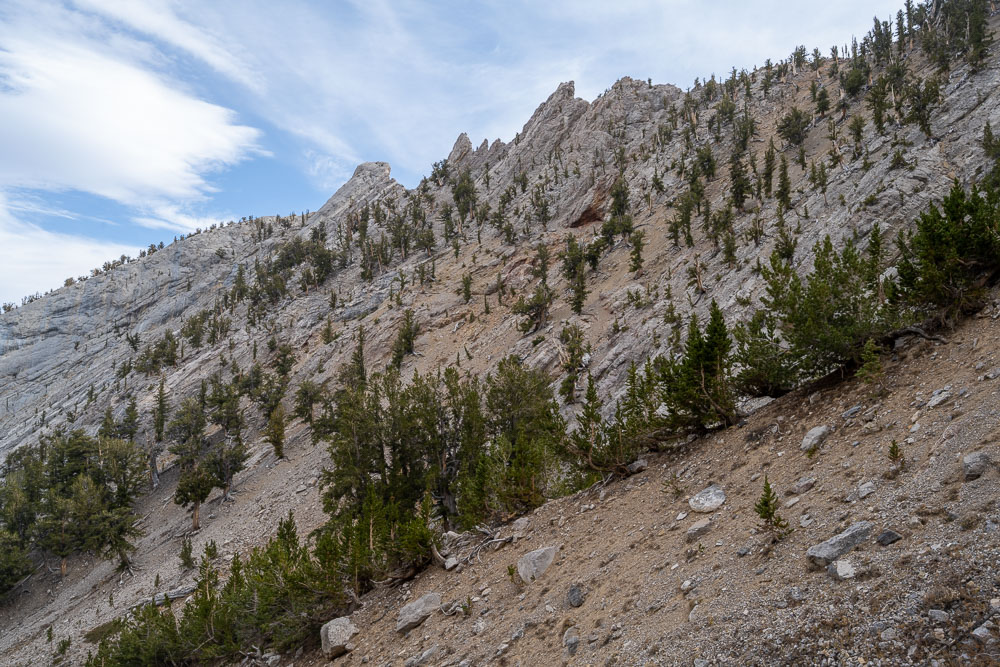
Currant Mountain from the ridge. The Class 4 crux section is visible just to the left of the highpoint. I bypassed the crux by taking a steeply sloping ledge on the west side of the ridge. The ledge is visible here, but looks near vertical from this perspective.
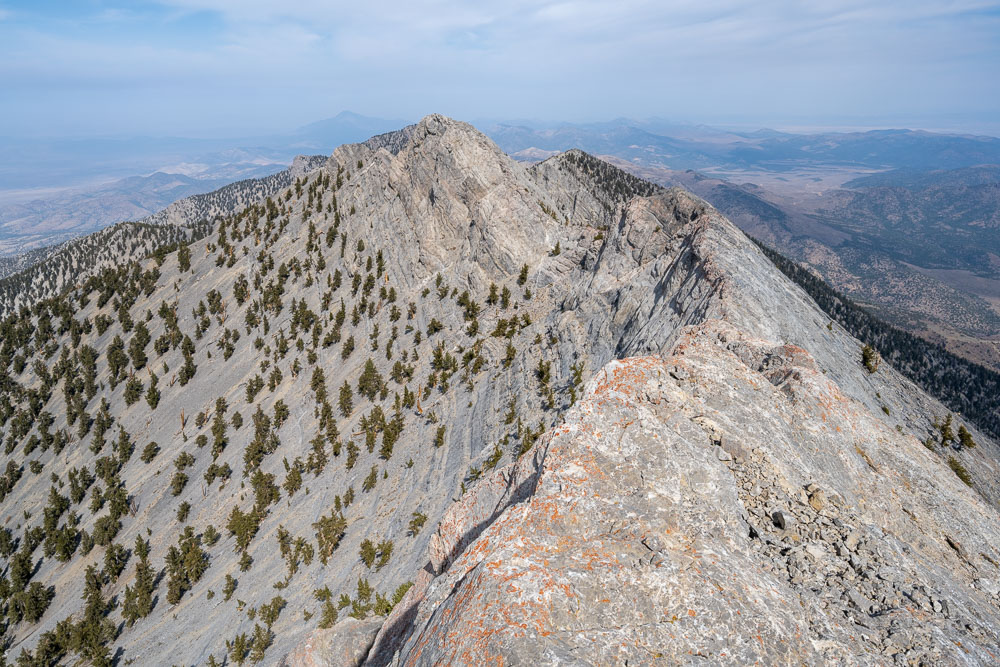
View back to Point 11413. The route I took to regain the ridge is visible in the center.
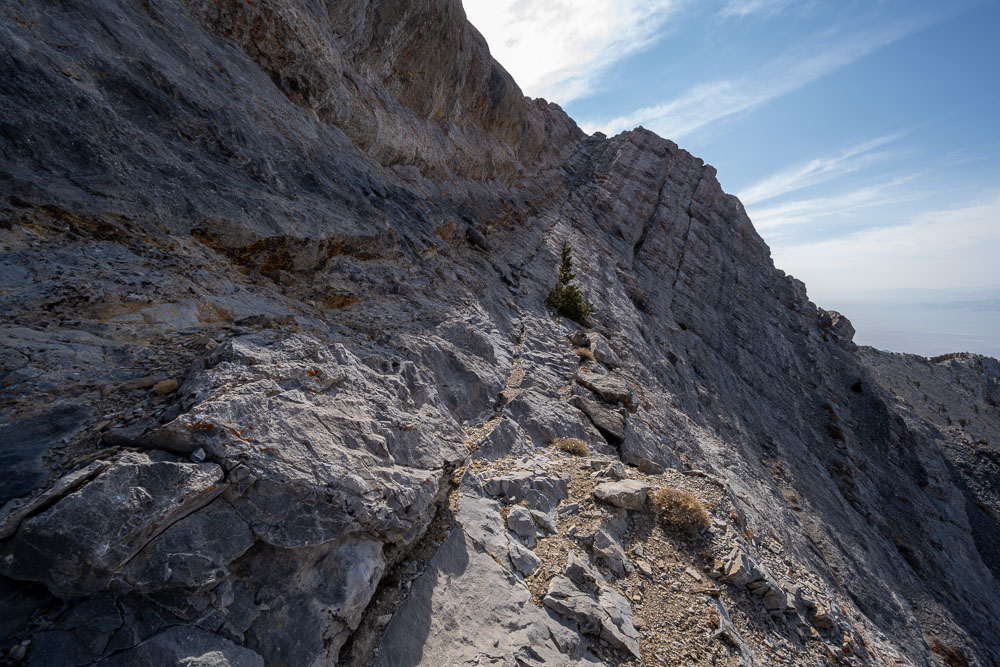
Approaching the crux section on the ridge. The ledge system is visible on the right, but still looks very steep.
The sloping ledge can be easily accessed by dropping down to the right just before reaching this feature along the ridge.
View back along the ridge from near the crux. The Class 4 crux is a 10-15 ft near vertical downclimb with significant exposure. I backed off after one of the footholds I was planning to use crumbled away when I partially weighted it.
Notch leading to the ledge on the west side of the ridge.
View across the ledge. The ledge became more obvious after I started across. There was some exposure off to the right, but the ledge was no more difficult than Class 3. By using this ledge it is possible to keep the traverse from Duckwater to Currant at Class 3 or below.
Nearing the end of the ledge.
View back across the ledge.
The ledge runs across where the shadow is located in the center of the photo.
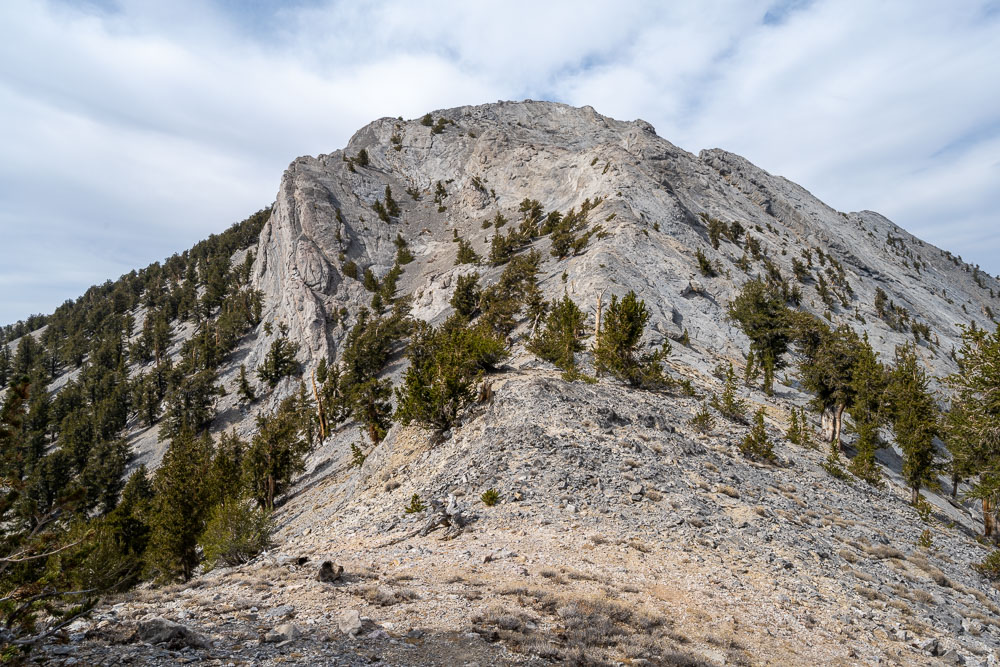
Approaching the summit of Currant Mountain.
View back to the crux section from near the summit. The Class 4 section is just to the right of the shadows.
Continuing along the ridge to Eagle Feather Peak.
Currant Mountain from below.
Another view of Currant Mountain from further along the ridge.
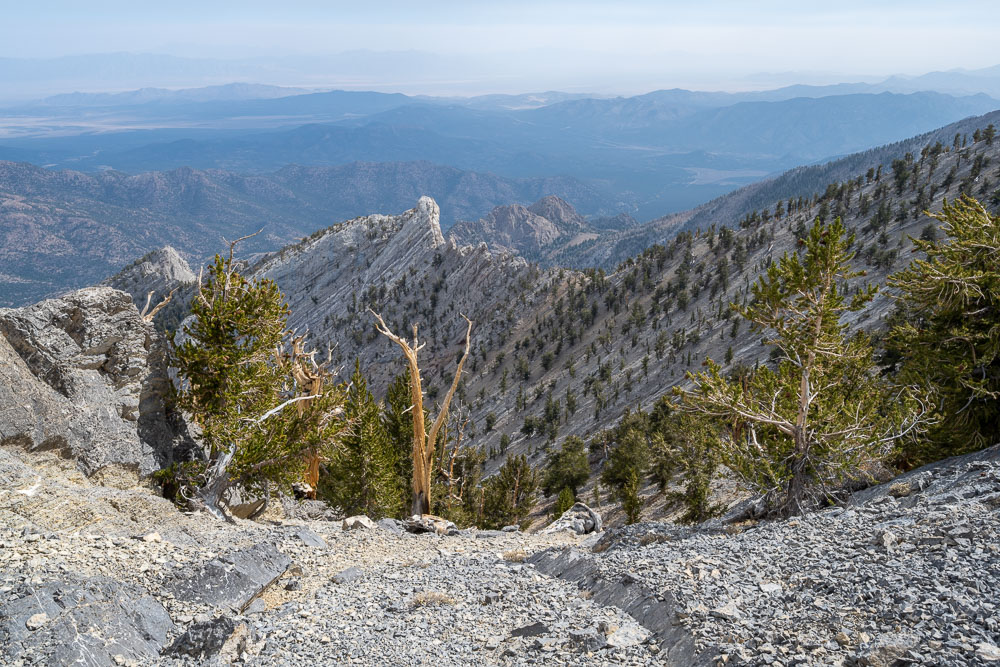
Jagged ridgeline below Eagle Feather Peak.
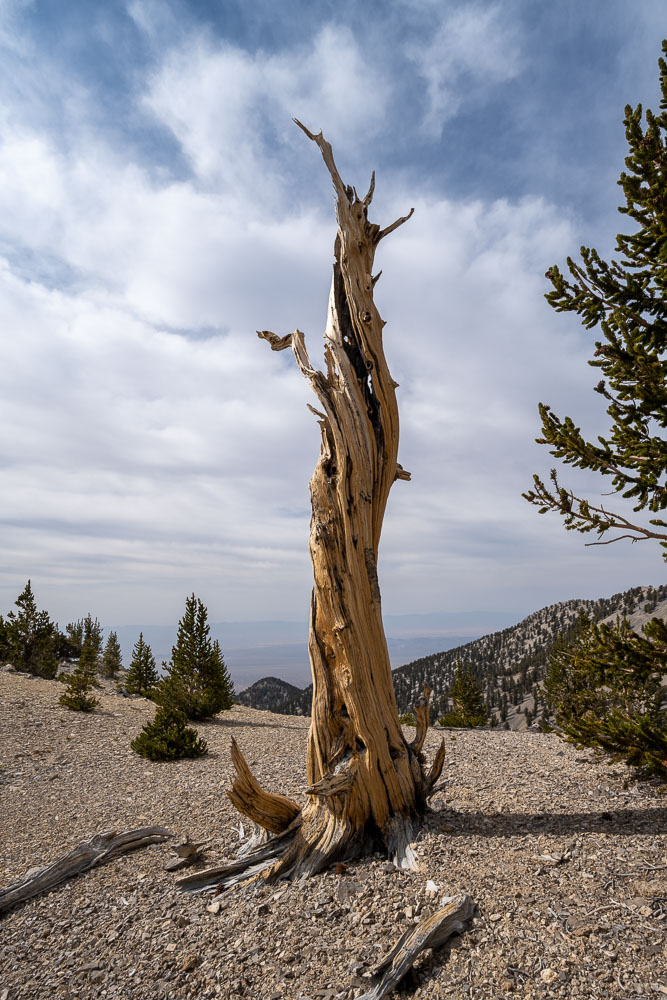
Remnants of a weathered bristlecone pine.
Approaching Eagle Feather Peak.
Red Mountain, part of the Red Mountain Wilderness.
View south from the summit of Eagle Feather Peak.
Another view of the crags below Eagle Feather Peak.
Dropping into the drainage on the east side of Currant Mountain.
Crags along the ridge.
Crags from below.
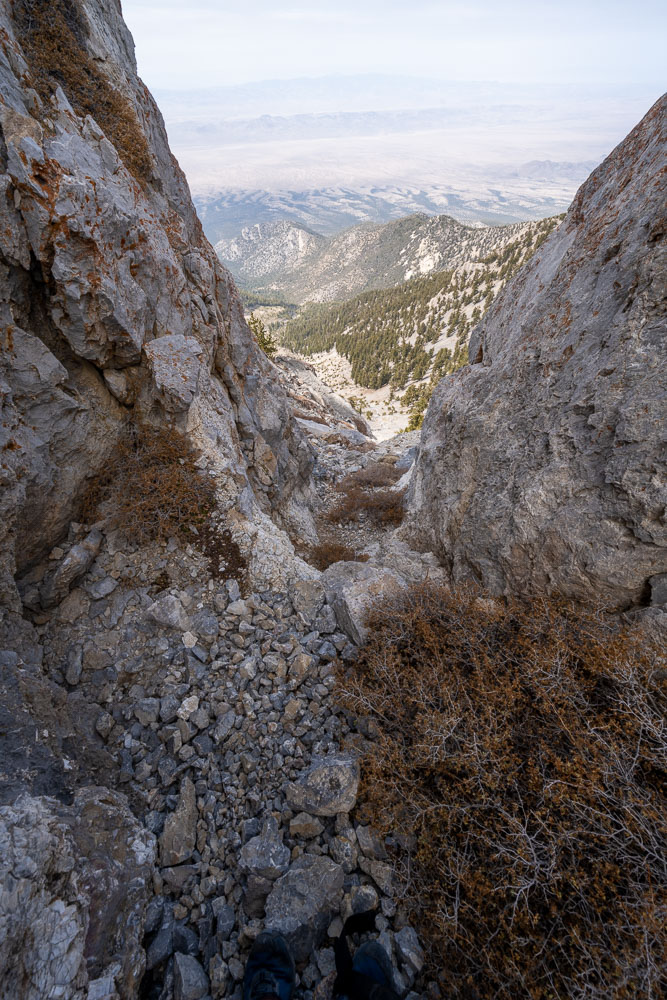
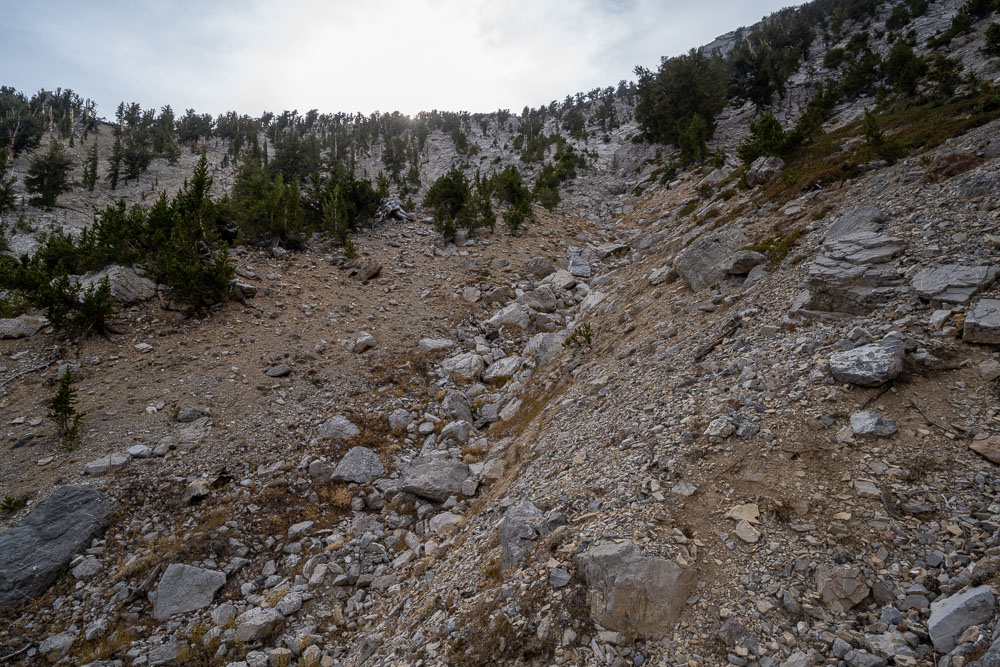
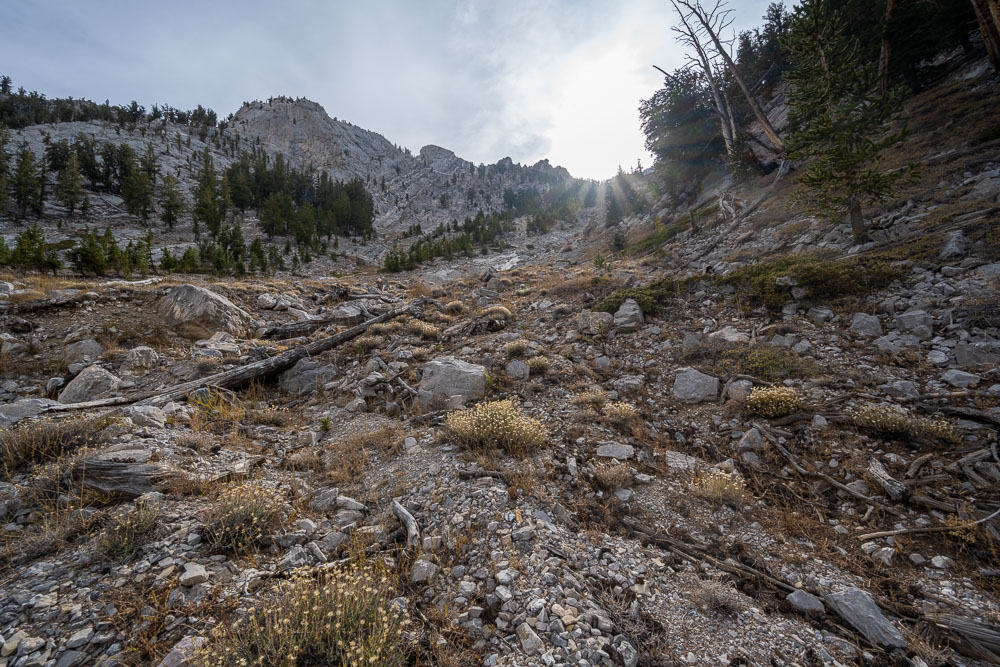
View back up the loose gully I descended.
Nearing the bottom of the steep section.
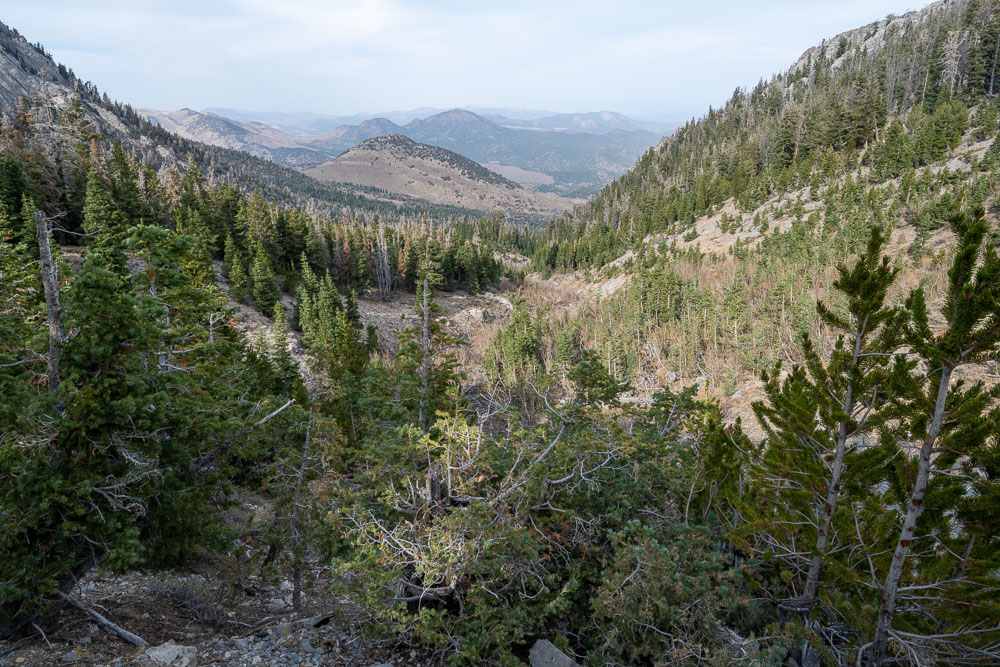
Heading through the forest to complete the loop.
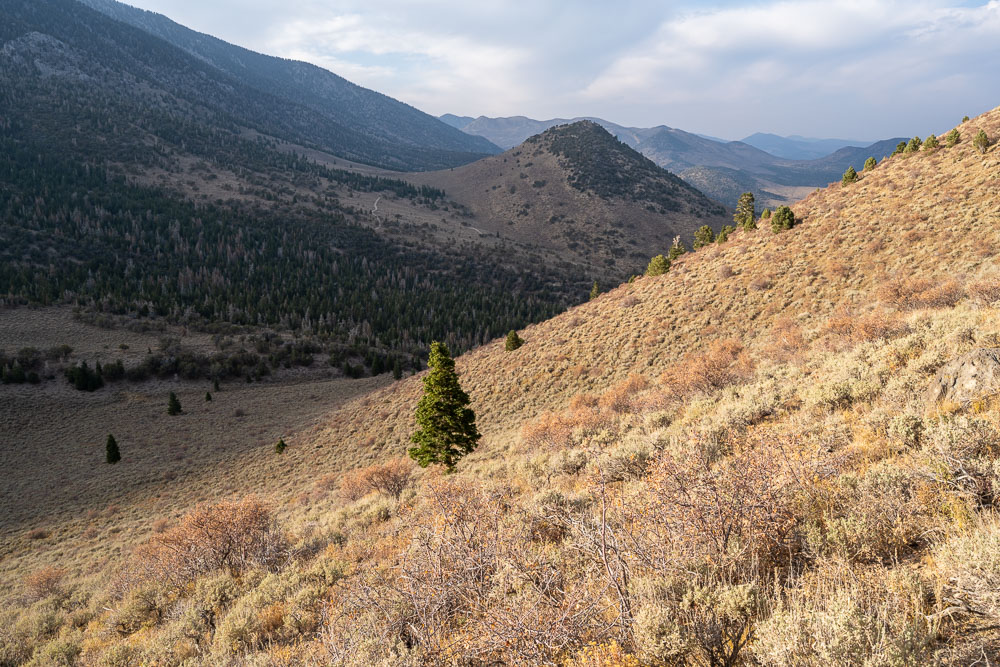
Peak 9243, one of two bonus peaks I included on the way back.
Peak 8851, the other bonus peak.
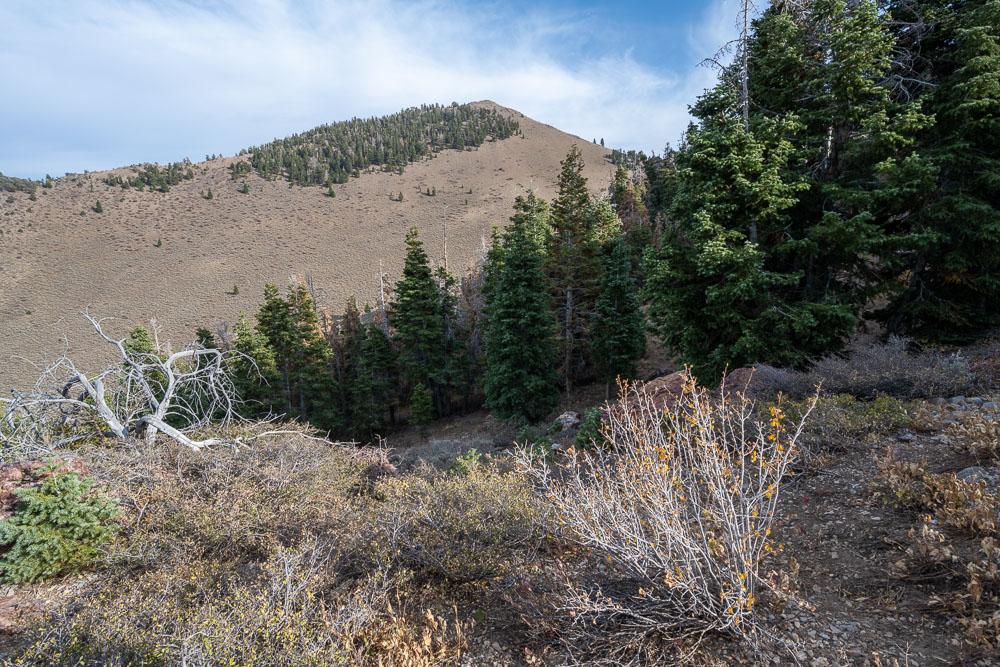
Approaching Peak 9243.
Afternoon light on the Currant Creek drainage.
Clouds forming over Eagle Feather Peak.
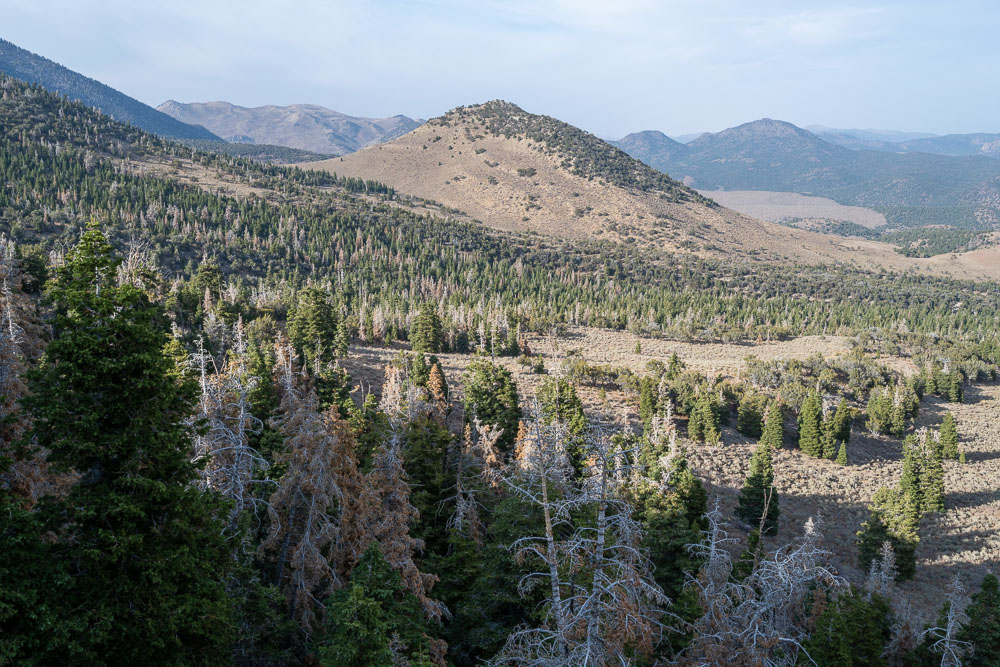
Peak 8851 to the north.
View back to Peak 9243.
Approaching Peak 8851.
Red Mountain from the summit of Peak 8851.
Eagle Feather Peak (center) and Currant Mountain (right).